Animations
3D models can be animated in a Decentraland scene using animations. All animations of a 3D model must be embedded inside its glTF file, you can’t reference animations in separate files.
Most 3D model animations are skeletal animations. These animations simplify the complex geometry of the model into a “stick figure”, linking every vertex in the mesh to the closest bone in the skeleton. Modelers adjust the skeleton into different poses, and the mesh stretches and bends to follow these movements.
As an alternative, vertex animations animate a model without the need of a skeleton. These animations specify the position of each vertex in the model directly. These animations aren’t currently supported by Decentraland’s engine.
There’s no specific rule about the names animations must have. You can verify the names of the animations in an exported model by opening the contents of a .gltf file with a text editor. You can also inspect the model in Babylon sandbox to see the available animations.
You can include any number of animations in a glTF model. All animations in a glTF model are disabled by default when loading the model into a Decentraland scene.
In a Decentraland scene, you can use weight to blend several animations or to make an animation more subtle.
Tip: Instead of creating your own animations, you can also download generic animations and apply them to your model. For example, for 3D characters with human-like characteristics, you can download free or paid animations from Mixamo.
This document covers how to add animations into a 3D model. See handle animations for instructions on how to activate and handle animations in a scene.
How to create an animation
You can use a tool like Blender to create animations for a 3D model.
-
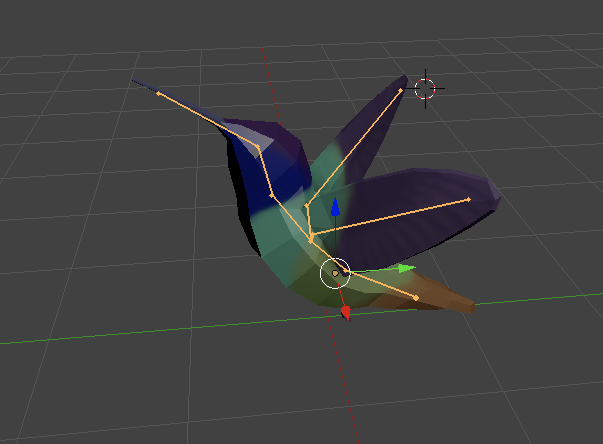
Create an armature, following the shape of your model and the parts you wish to move. You do this by adding an initial bone and then extruding all other bones from the vertices of that one. Bones in the armature define the points that can be articulated. The armature must be positioned overlapping the mesh.
-
Make both the armature and the mesh child assets of the same object.
-
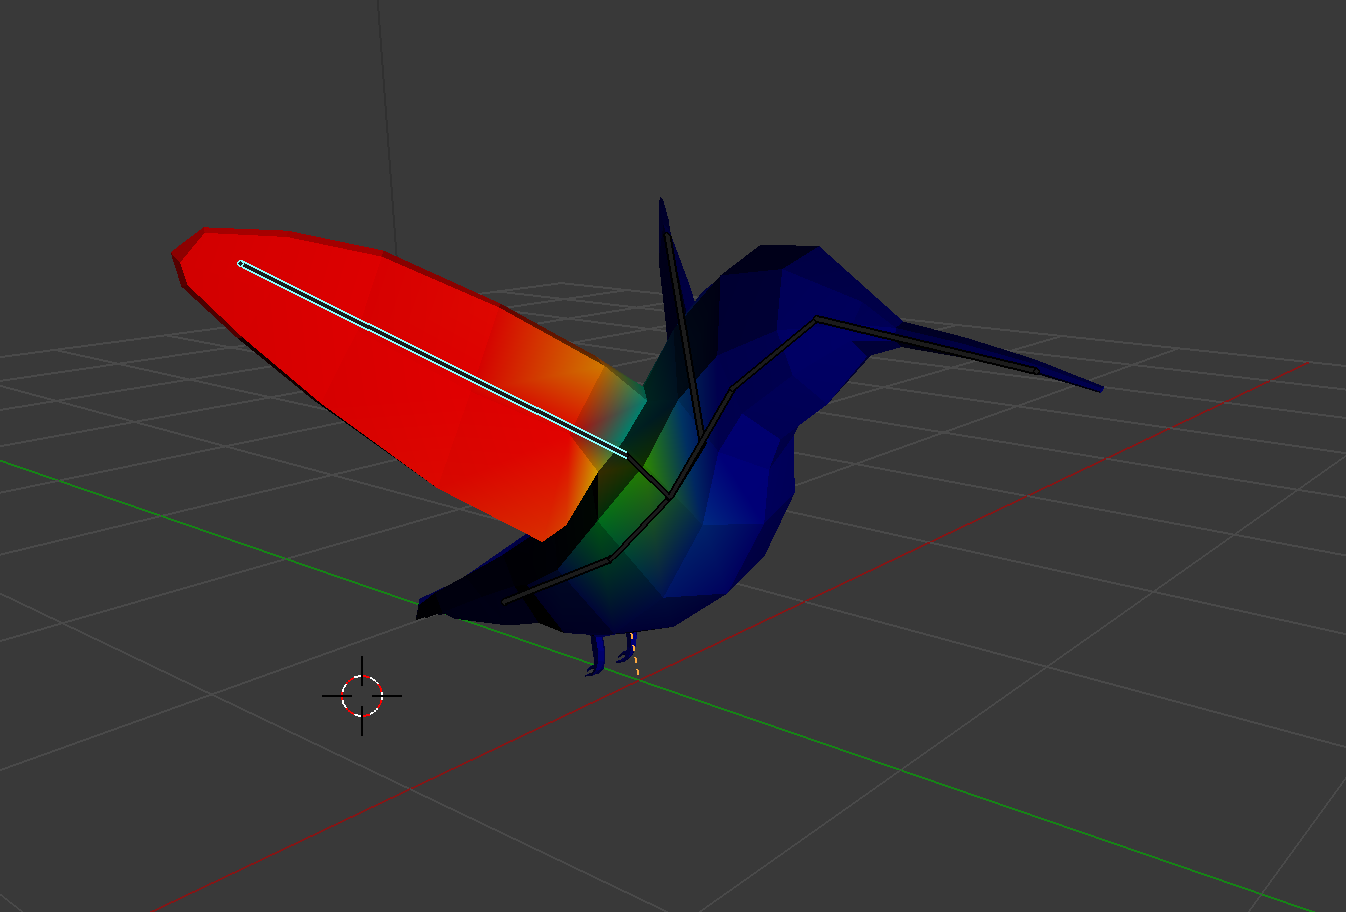
Check that the mesh moves naturally when rotating its bones in the ways you plan to move it. If parts of the mesh get stretched in undesired ways, use weight paint to change what parts of the model are affected by each bone in the armature.

Note: There’s a reported bug with Babylon.js that prevents some faces of a mesh from being rendered when they’re not related to any bone in the armature. So if you paint some faces with weight 0 and then animate the model, you might see these faces dissappear. To solve this, we recommend making sure that each face is related to at least one bone of the armature and painted with a weight of at least 0.01.
-
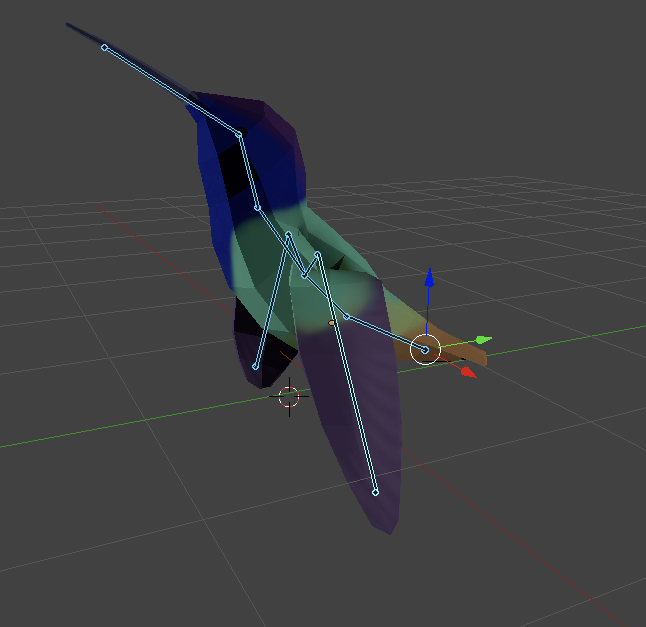
Move the armature to a desired pose, all bones can be rotated or scaled. Then lock the rotation and scale of the bones you wish to control with this animation.
-
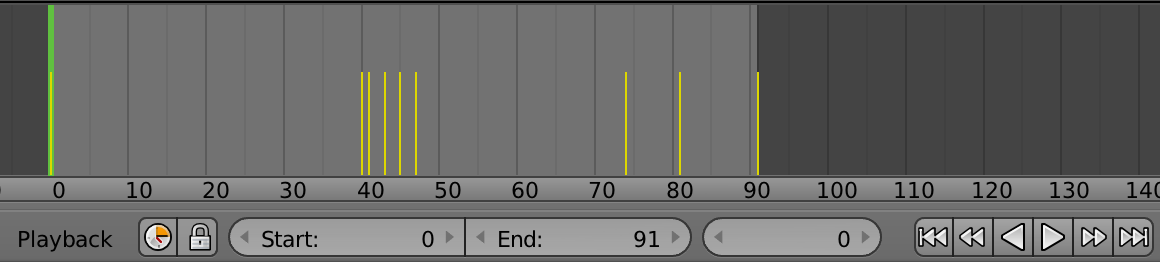
Switch to a different frame in the animation, position the armature into a new pose and lock it again. Repeat this process for all the key frames you want to set to describe the animation.
-
By default all frames in between the ones you defined will transition linearly from one pose to the next. You can also configure these transitions to behave exponentially, ease-in, bounce, etc.
Vertex animations
Vertex animations, also known as morph-targets, aren’t currently supported by Decentraland’s engine.
How to handle multiple animations with Blender
To export a model with several embedded animations in Blender, you must create multiple actions from the Dope-Sheet.
You can also edit the animation from the Dope-Sheet view, for example you can adjust the distance between two key frames.
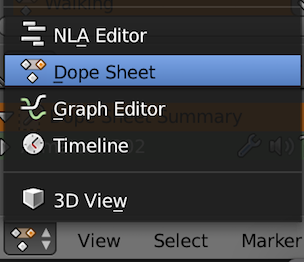
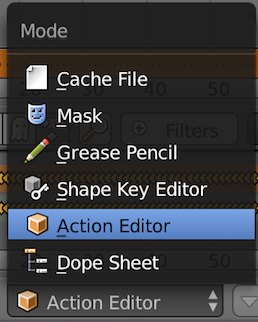
To preview the different actions, open the Action Editor (only accessible once you’re in the Dope Sheet).
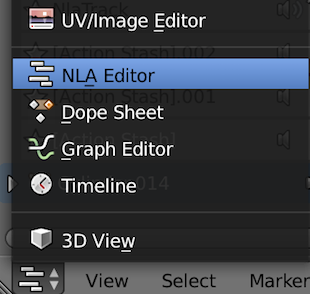
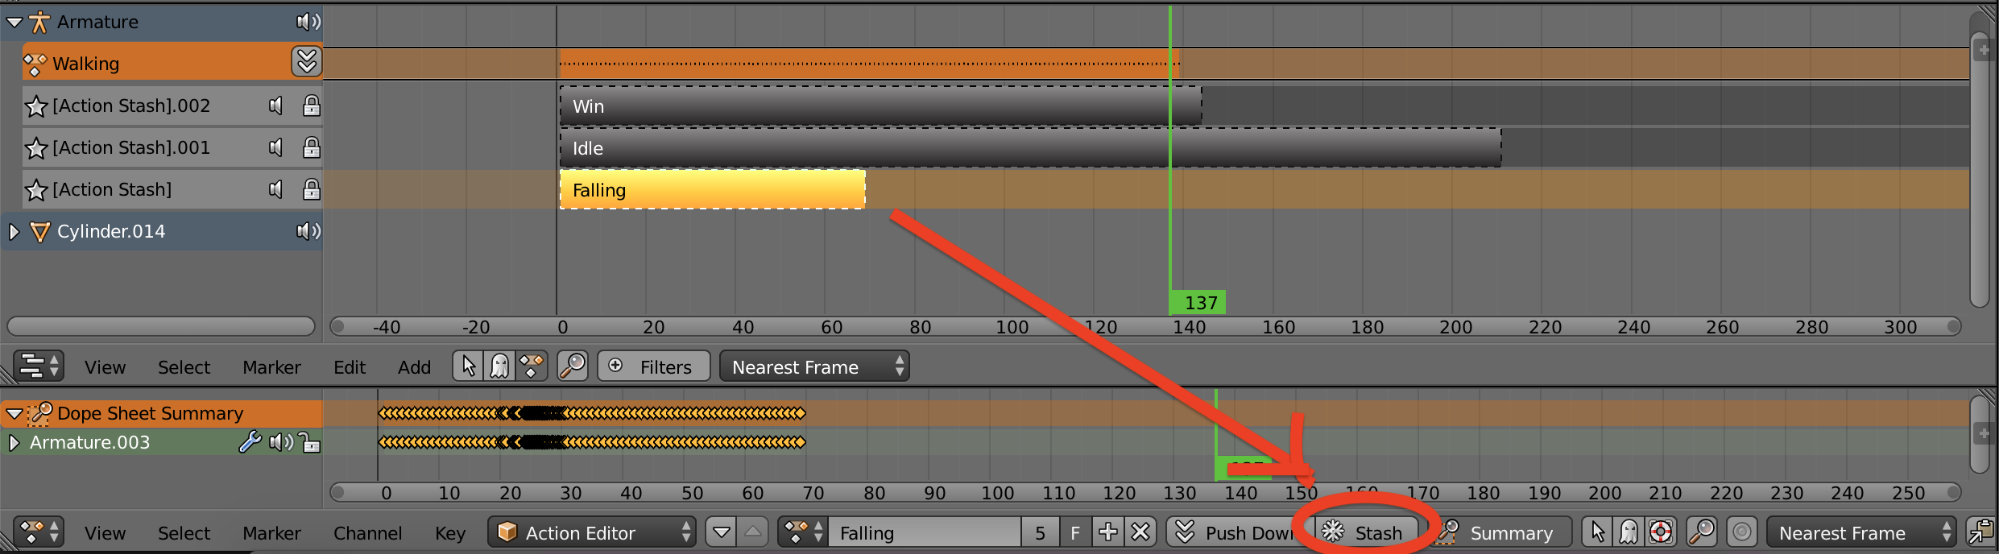
In order to export multiple animations, you need to stash all the actions using the NLA Editor. We recommend opening the NLA editor on a separate editor tab while keeping the Dope sheet also open.
In the NLA Editor, select each action that you want to embed in the glTF model and click Stash.
When adding the model to your Decentraland scene, you must activate animations by configuring the gltf-model entity. See 3D model animations for instructions.
Best practices for animations
- Keep the armature simple, only create bones for the parts of the model that you intend to animate.
- If the animation will be looped in your scene, make sure the final pose is identical to the starting pose to avoid jumps.
- Sometimes in an animation you might want to only control the movements of parts of the armature, and leave other bones undefined. This can make it easier to combine animations together.
- Animated characters in your scene shouldn’t ever stay completely still, even when they aren’t doing anything. It’s best to create an “idle” animation to use for when the character is still. The idle animation can include subtle movements like breathing and perhaps occasional glances.
- Make sure your model only has one armature when you export it. Sometimes, when importing another animation to the program where you’re editing your model, it will bring in a copy of the armature. You want all animations of the model to be performed by the same base armature.
- When exporting the glTF model, make sure you’re exporting all the objects and animations. Some exporters will only export the currently selected by default.
- After exporting the model, inspect it in Babylon sandbox to make sure all animations work and are named as expected.