Creating Wearables
What are wearables?
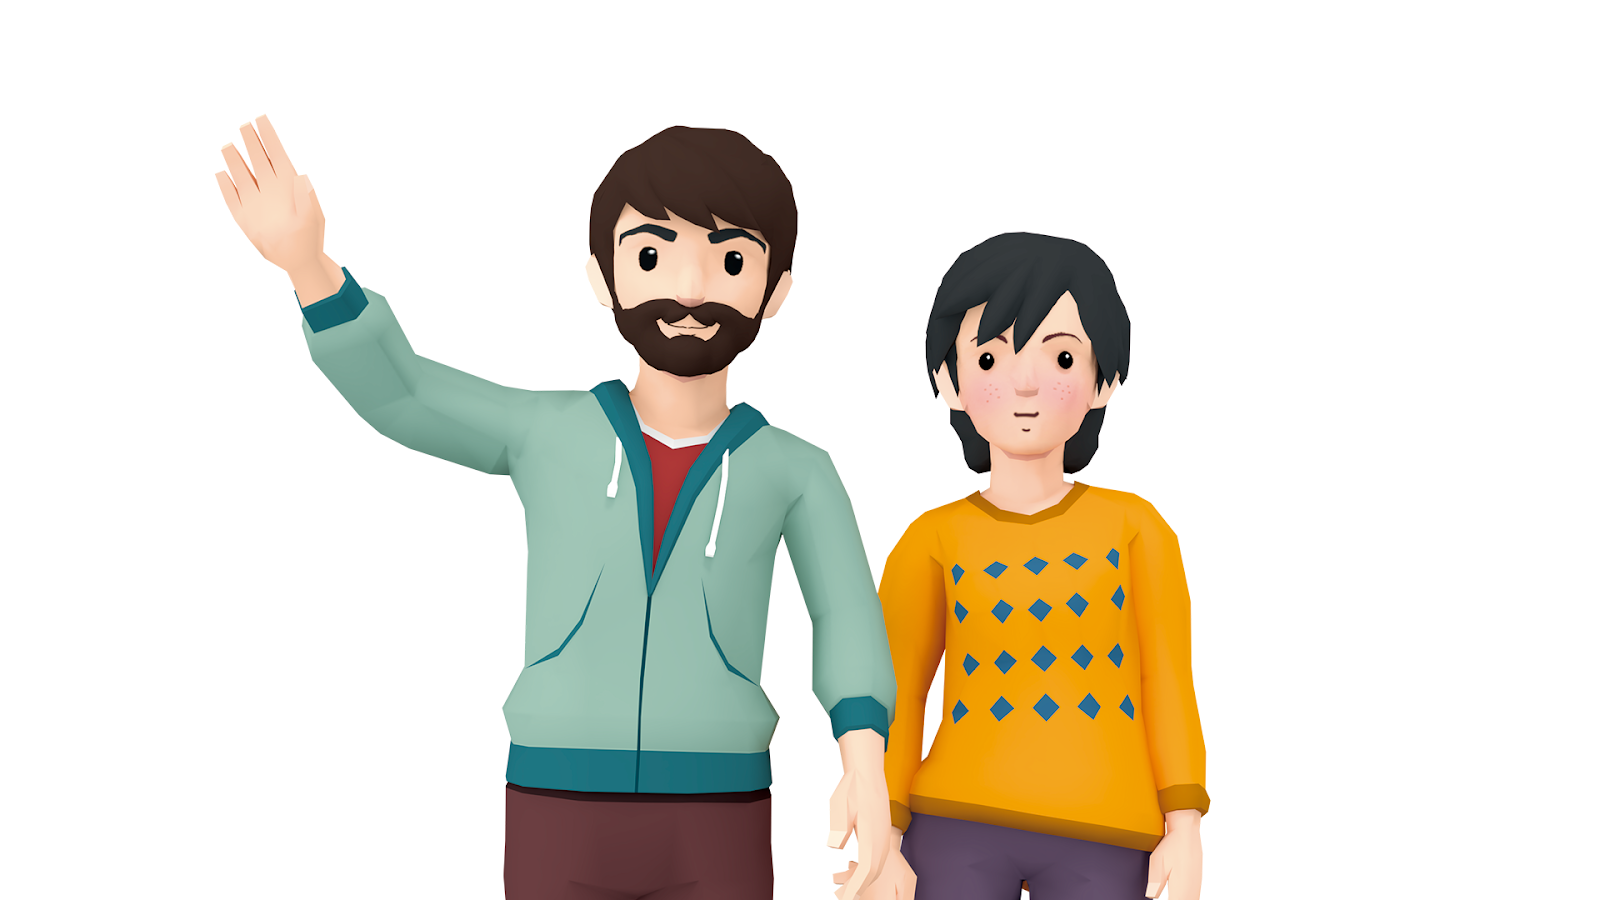
Wearables are the different clothing items, accessories, and body features that can be used to customize the appearance of a Decentraland avatar. While there are some default wearables available to all users, Decentraland also supports the use of custom wearables. These custom wearables can be created by both brands and users, and are often distributed in competitions and giveaways. Decantraland’s growing marketplace for user-generated content also includes support for wearables, which can be bought, sold, or traded as NFTs (non-fungible tokens).
There’s a growing range of available wearables including cyberpunk themed sneakers, fashionable jackets, fun tophats, and more! All of these stylistic choices give users an exciting and meaningful way to invest in, and express, their own unique personalities. By allowing wearables to be minted, and then sold, as NFTs, Decentraland provides content creators with a fun way to monetize their creative work.
This guide introduces the basics of creating custom 3D models for Decentraland wearables. It explains how the Decentraland “avatar system” works, and it illustrates how to properly model your own wearables.
Note: this guide assumes that you already have some basic to intermediate knowledge of 3D modeling. If you’re new to 3D modeling, start here.
The Decentraland Avatar System
The Decentraland “avatar system” is the broad collection of different body components and subcomponents that can be decorated with custom wearables. These components are:
- Body shape
- Head
- Head shape
- Eyebrows
- Eyes
- Mouth
- Upper body
- Lower body
- Feet
Body shape
The basic form of an avatar. Wearables can be assigned to one, or both, body shapes. Currently, there are two body shapes: A or B.
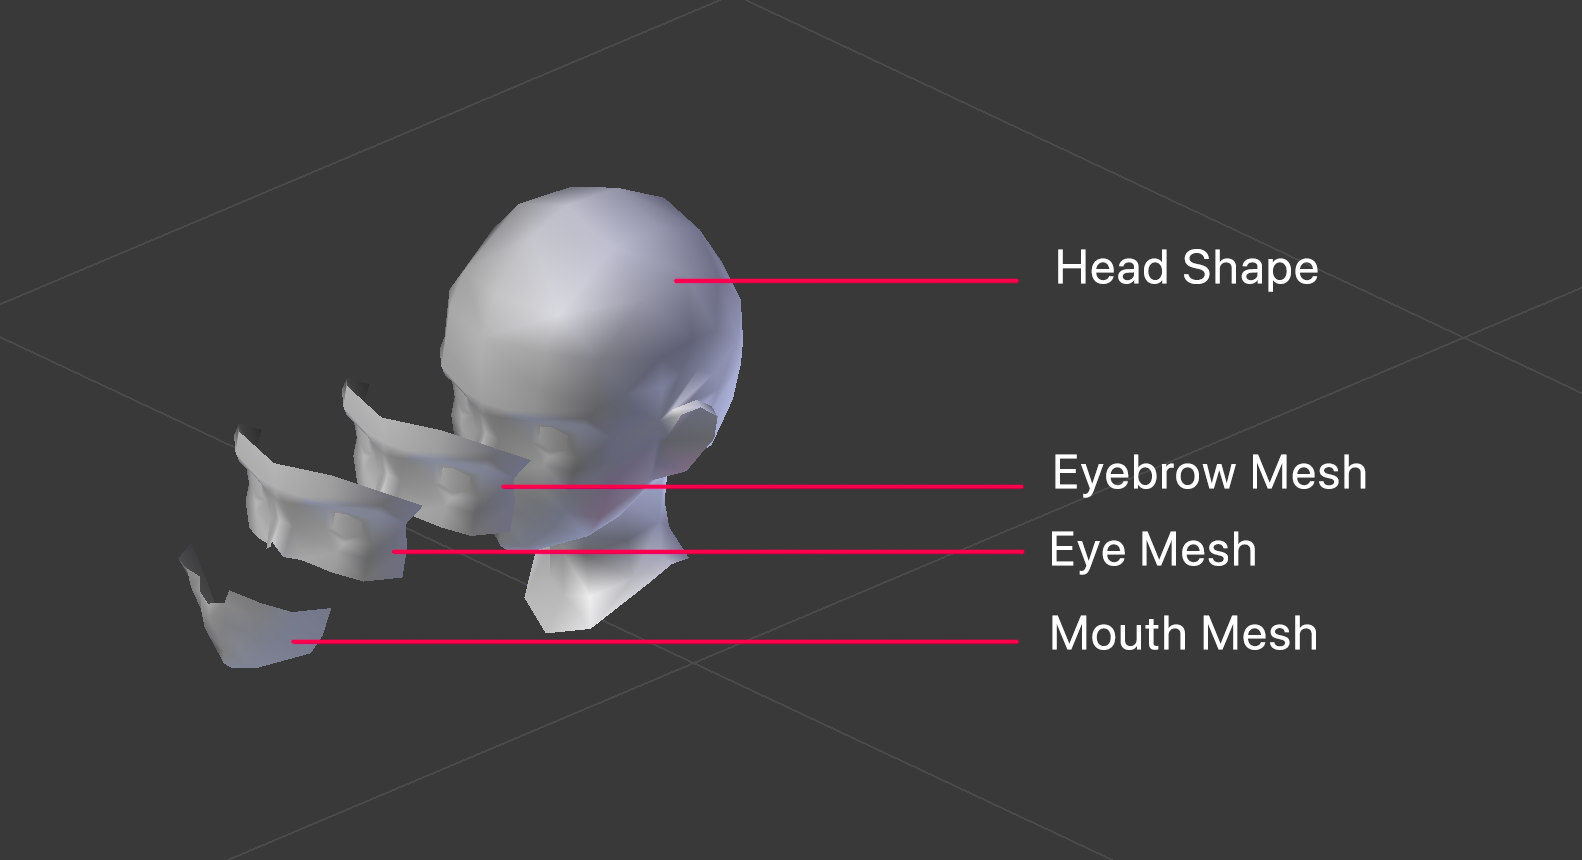
Head
The head includes several different meshes:
Head Shape
This is the base mesh of the head on which all other head features attach to.
Eyebrow
The Eyebrow mesh functions as a transparency mask. It is used to create different eyebrow styles.
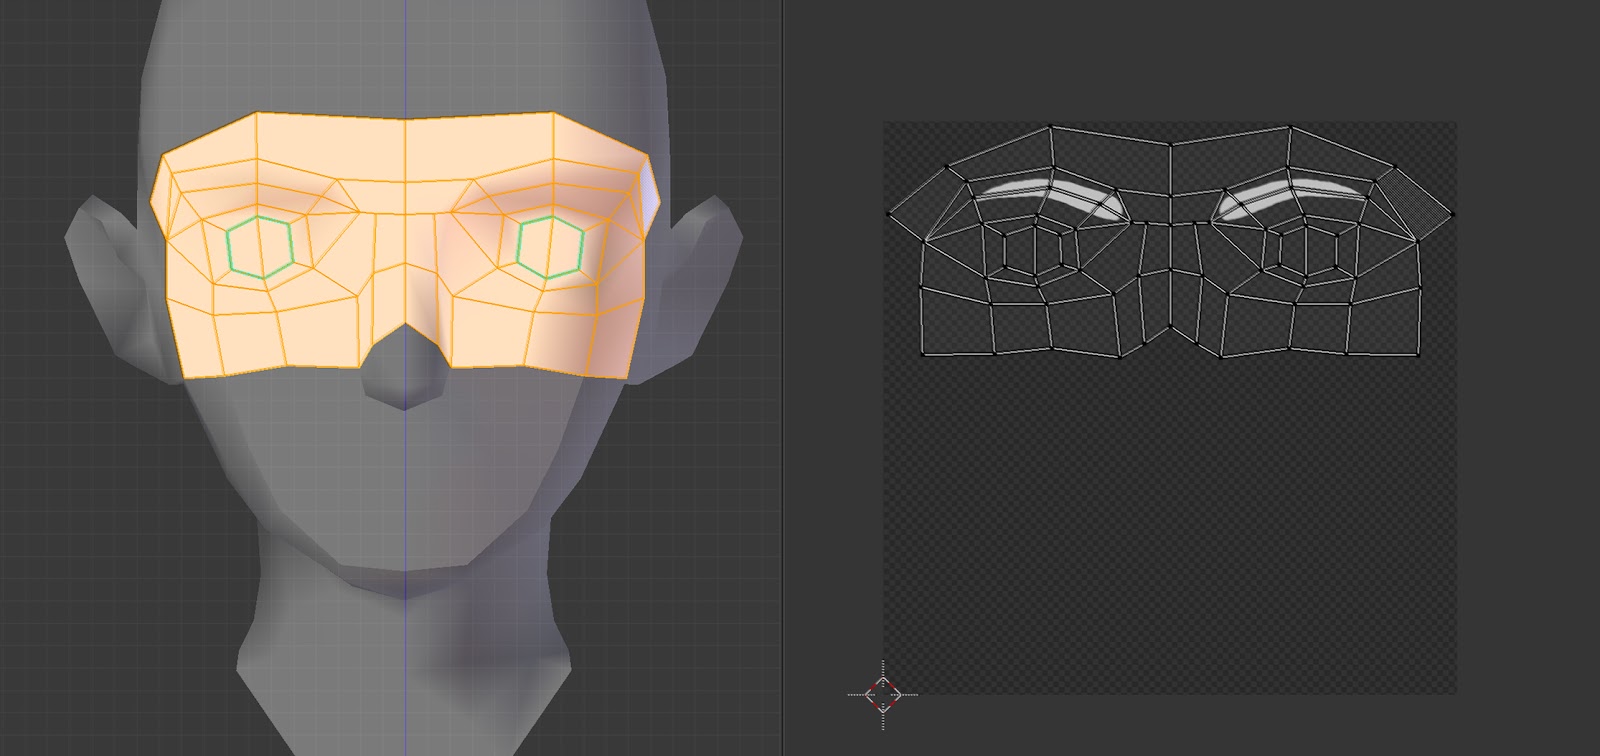
Eye Mesh
The Eye mesh functions as a transparency mask, and is used to create different eye styles.
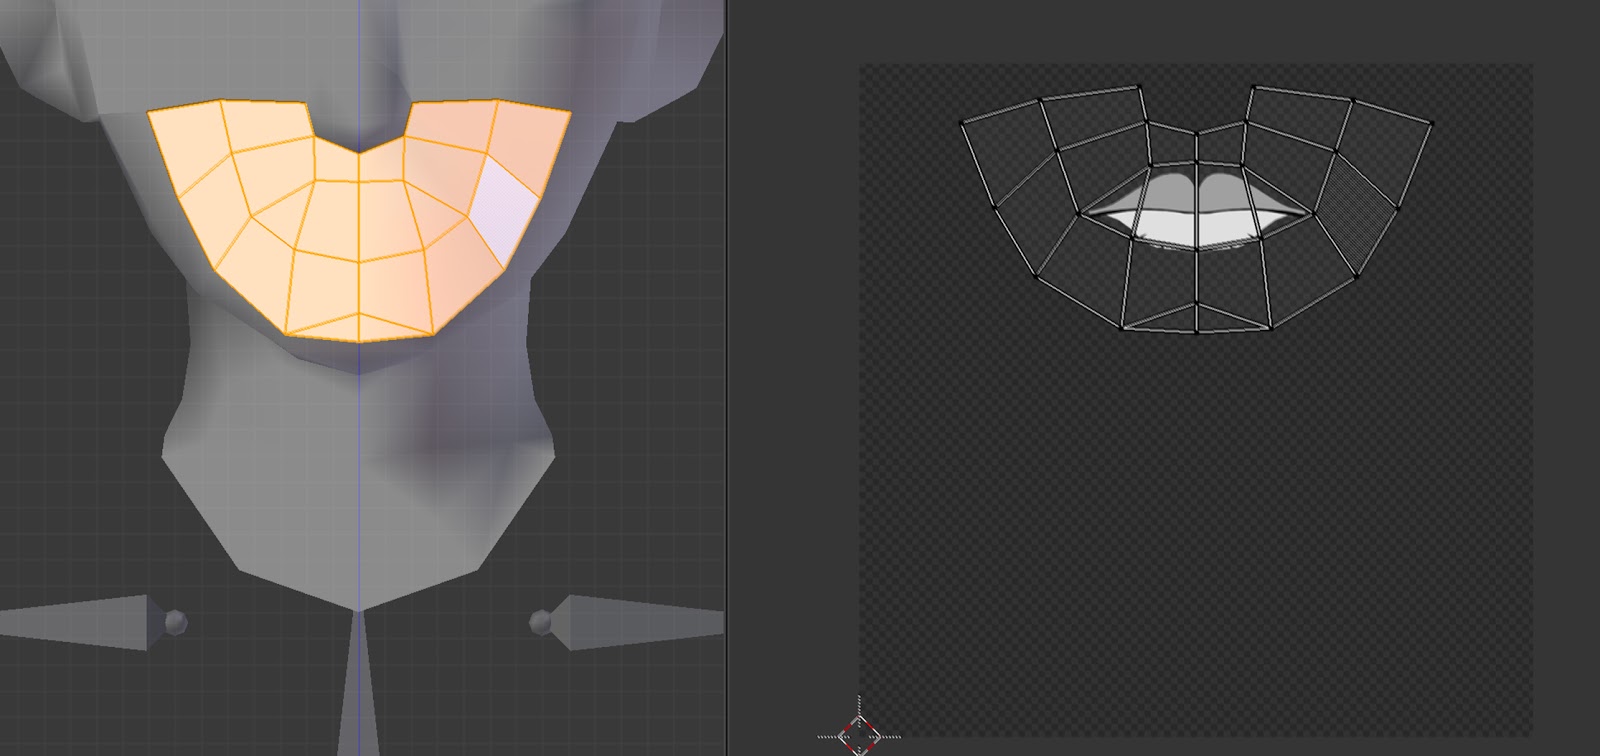
Mouth
The mouth mesh functions as a transparency mask, and is used to create different mouth styles.
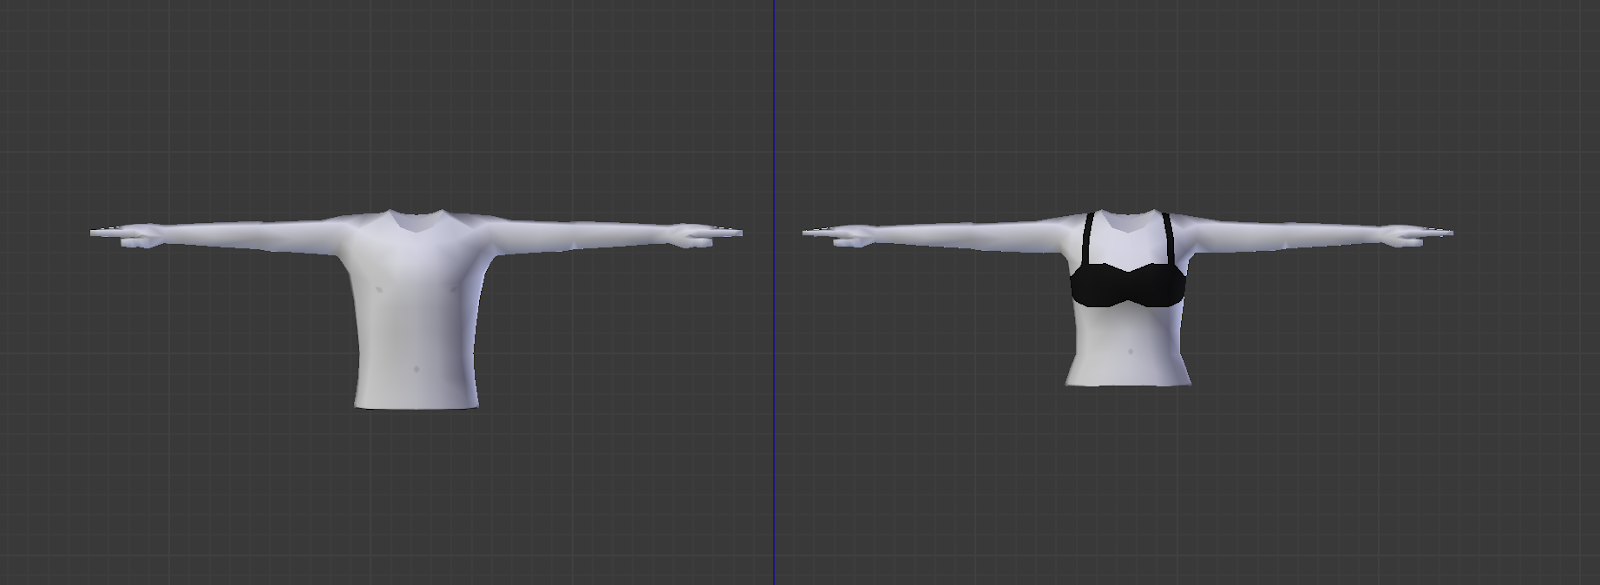
Upper Body
The upper body, or torso, of an avatar includes the arms and hands. All upper body wearables are applied to the entire torso.
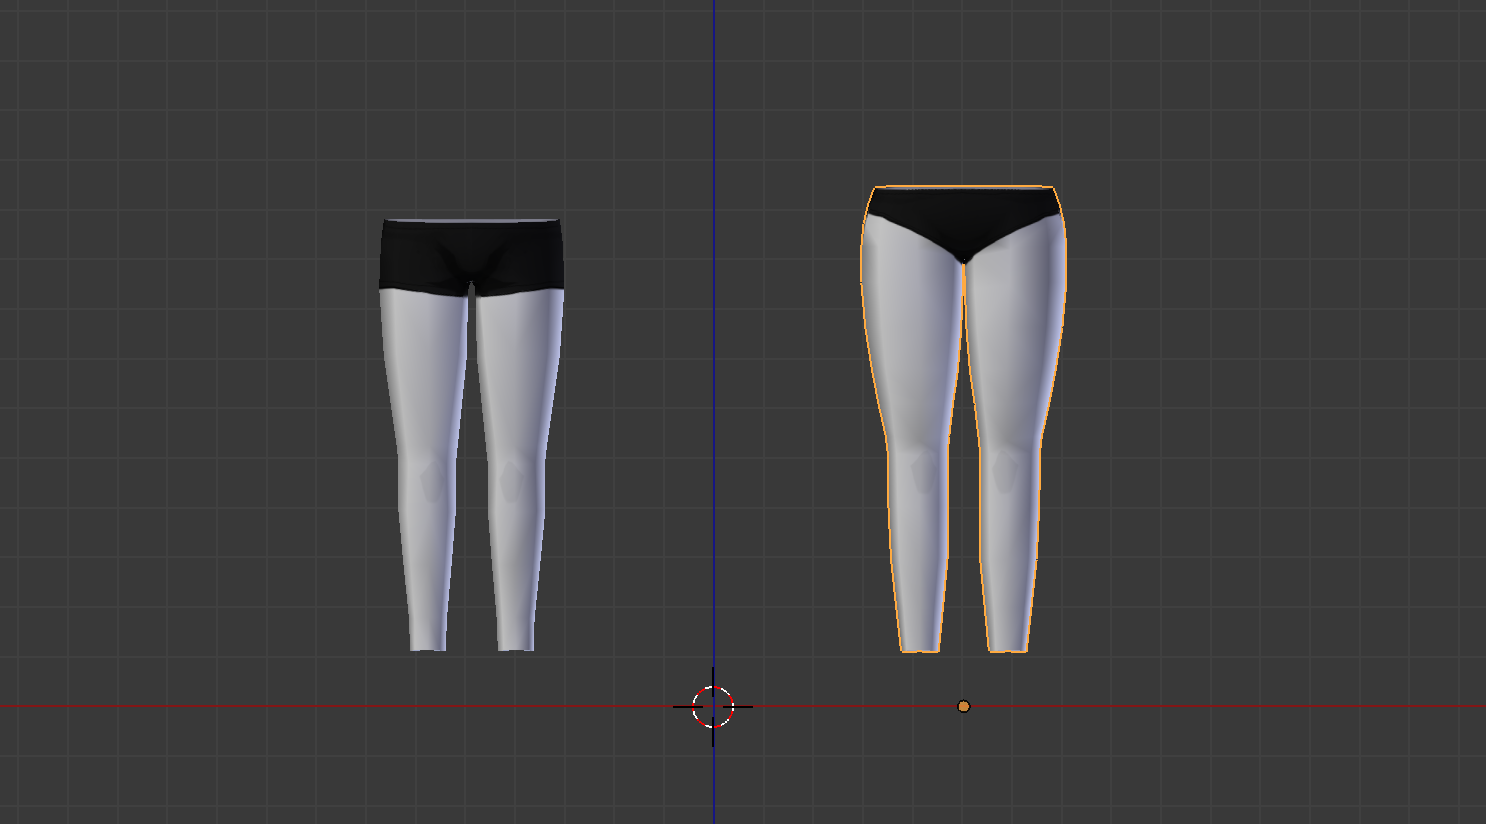
Lower Body
The lower body includes the pelvis, legs, and ankles of an avatar.
Feet
Just the feet! All boots, shoes, sandals, socks, etc. are applied to the feet, not the lower body.

Wearable Categories
Each wearable has a specific category that determines which body part in the avatar system (e.g. head, upper body, etc.) the wearable will be applied to. Certain wearables will impact whether or not other wearables are rendered, depending on the specific category. Some wearables will entirely replace others with sometimes unexpected and surprising results. See the list below for details.
The different categories are:
- Body_shape: Replaces the entire avatar’s body.
- Skin: Replaces the entire avatar (head, upper body, lower body and feet except accesories)
- Hat: Replaces the avatar’s hair. For hats that leave some hair exposed, it must be attached to the hair in the mesh to prevent the avatar from going bald whenever they put on their hat.
- Helmet: Overrides the avatar’s entire head, replacing both hair and facial_hair.
- Hair: Replaces an avatar’s hat.
- Facial_hair: facial hair won’t replace or override any other wearables.
-
Head:
- Mouth
- Eyes
- Eyebrows
- Upper_body
- Lower_body
- Feet
There are also accessories that can be applied to different areas of an avatar. Some of these accessories can impact other wearables. The accessories are:
- Mask: Replaces helmet, tiara, eye_wear and it will override facial_hair.
- Eye_wear: Replaces helmet and mask.
- Earring: Replaces helmet.
- Tiara: Replaces mask and helmet.
- Top_head: This is rendered on the top of an avatar’s hard. For example, an angel’s halo.
Building 3D models for wearables
Let’s start to create some wearables!
To ensure that Decentrand runs smoothly for all users, it is important to create wearable models without using too many triangles. The goal is to keep models as simple as possible so that they can easily be rendered, without sacrificing too much detail.
The same goes for textures. It’s critical that we use as few textures as possible.
There are limits for the number of triangles and textures that can be used for each wearable or accessory:
- No more than 1.5K triangles per wearable
- No more than 500 triangles per accessories
- No more than 2 textures (at a resolution of 512x512px or lower) per wearable. All textures must be square.
- In the case of skin wearable, the amount of tris allowed are 5k and 5 textures.
Before you get started, download the example files for reference meshes and textures.
Upper body, Lower body, and Feet
After downloading the example files, load the models into your 3D editor, like Blender.
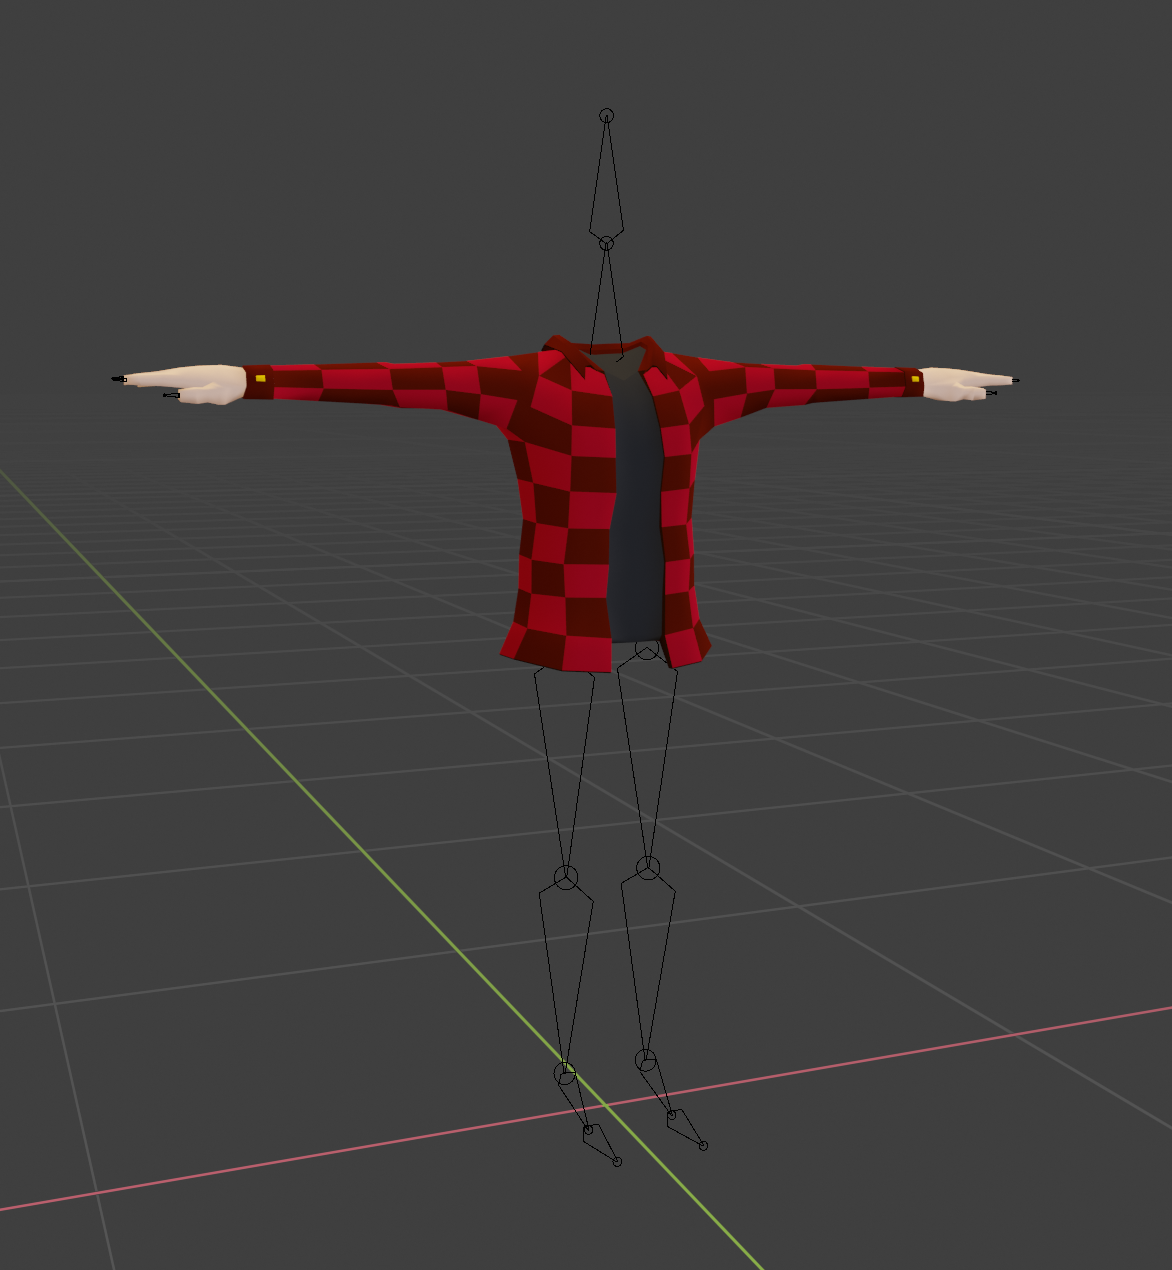
You’ll notice that each model contains 7 different meshes related to an armature. These meshes represent the head, eyebrows, eyes, mouth, upper body, lower body and feet. You can use these example models as a reference and starting point for your own custom wearable.
Important: Do not modify the “cuts” or the “stitches” between categories (unless you want to create an unusual “floating head” effect or something similar).
You’ll also notice that each category has caps, making them “water tight”. These caps exist to prevent unsightly glitches if there are any animation clipping problems due to bad skin weighting. It’s best to leave these caps on.

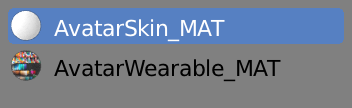
There are two basic materials for avatar models. One is the material used for the wearable itself and the other one is used for the skin.
Each base mesh comes with its own skin texture.
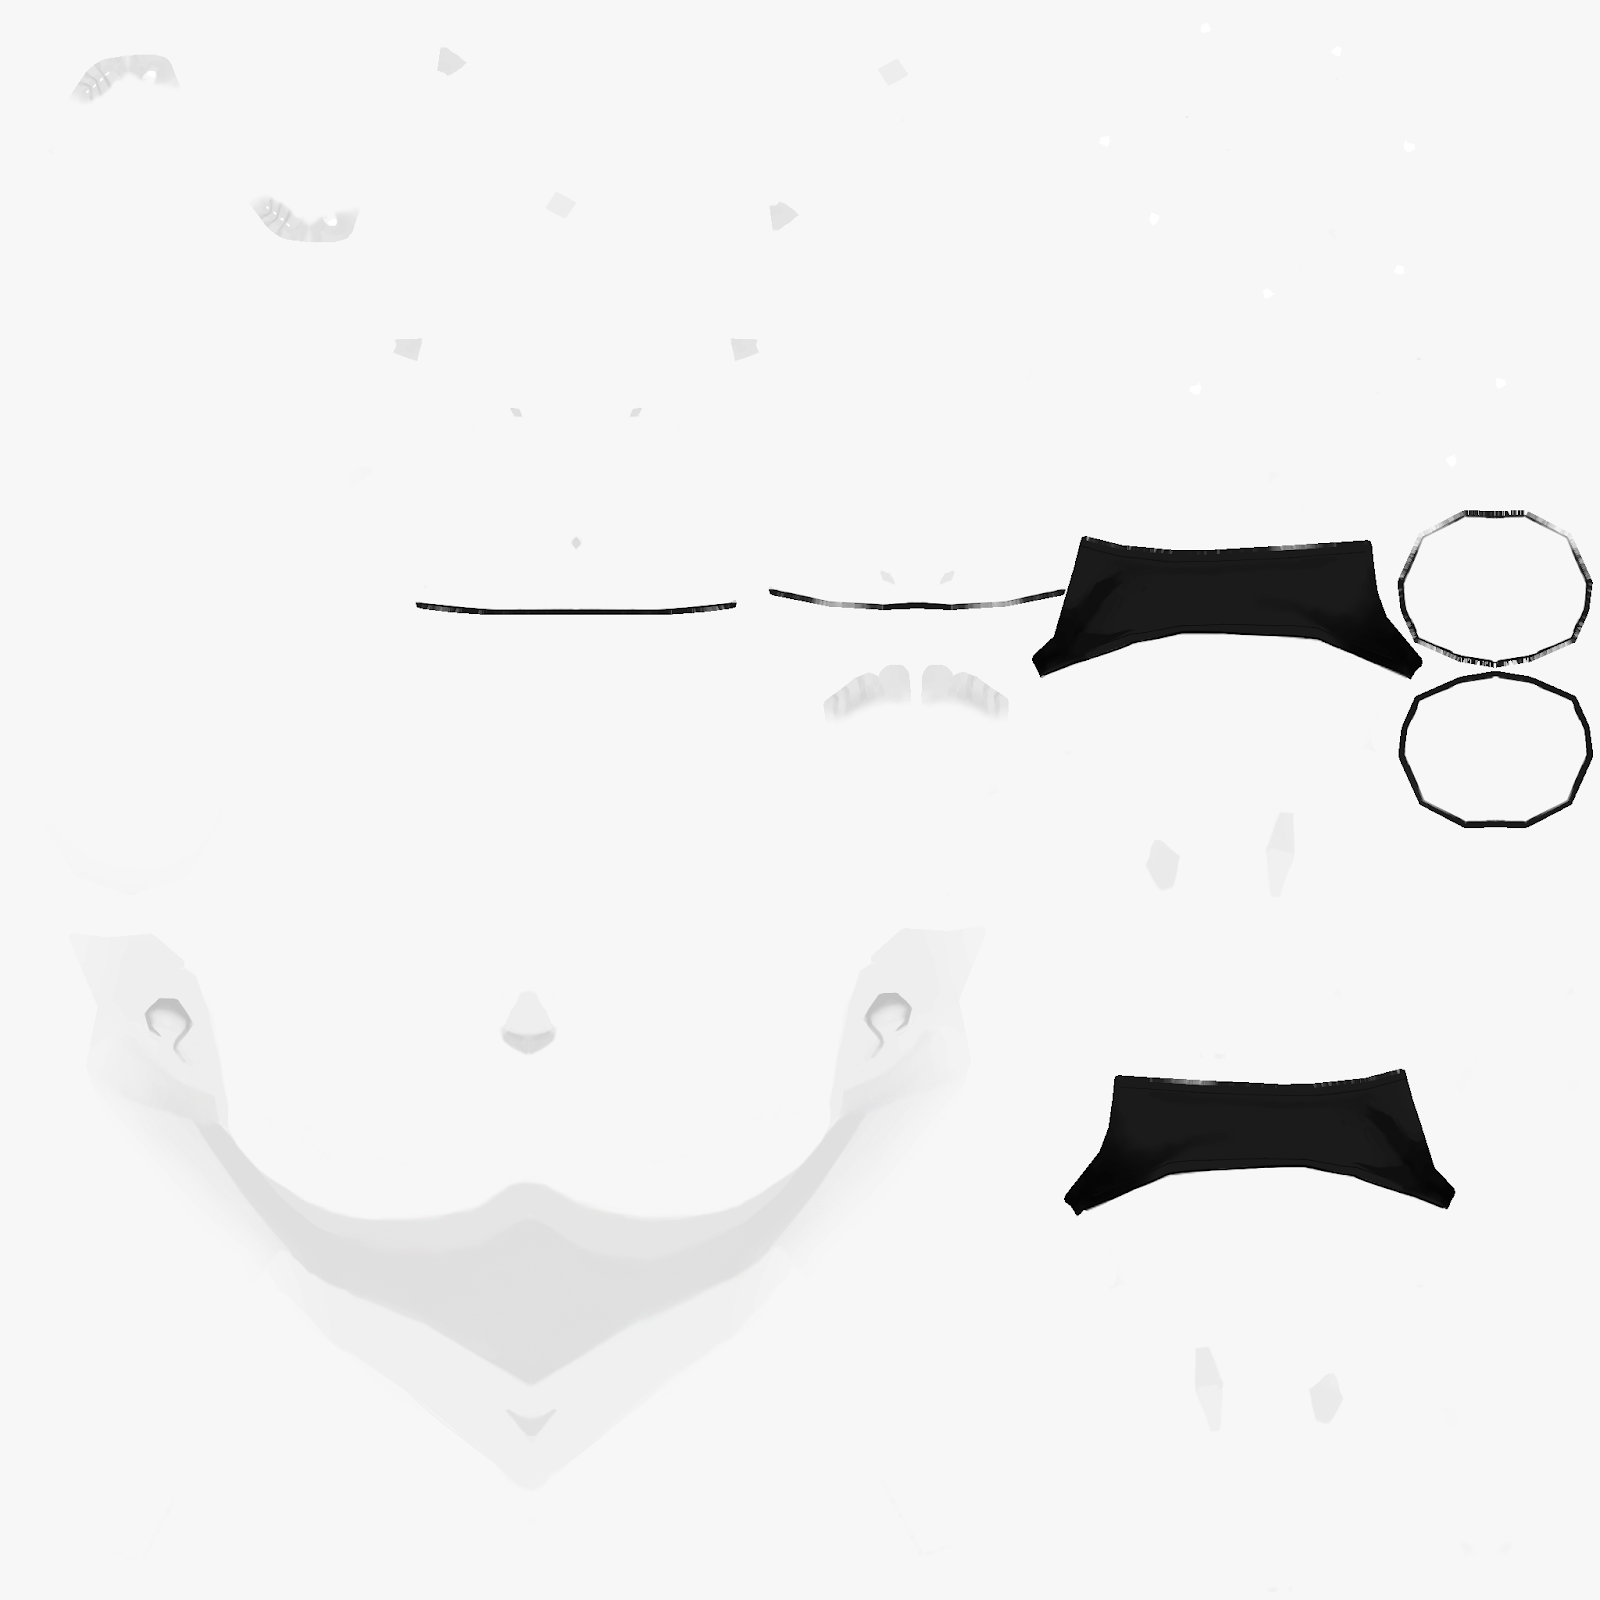 Skin for Avatar Shape A
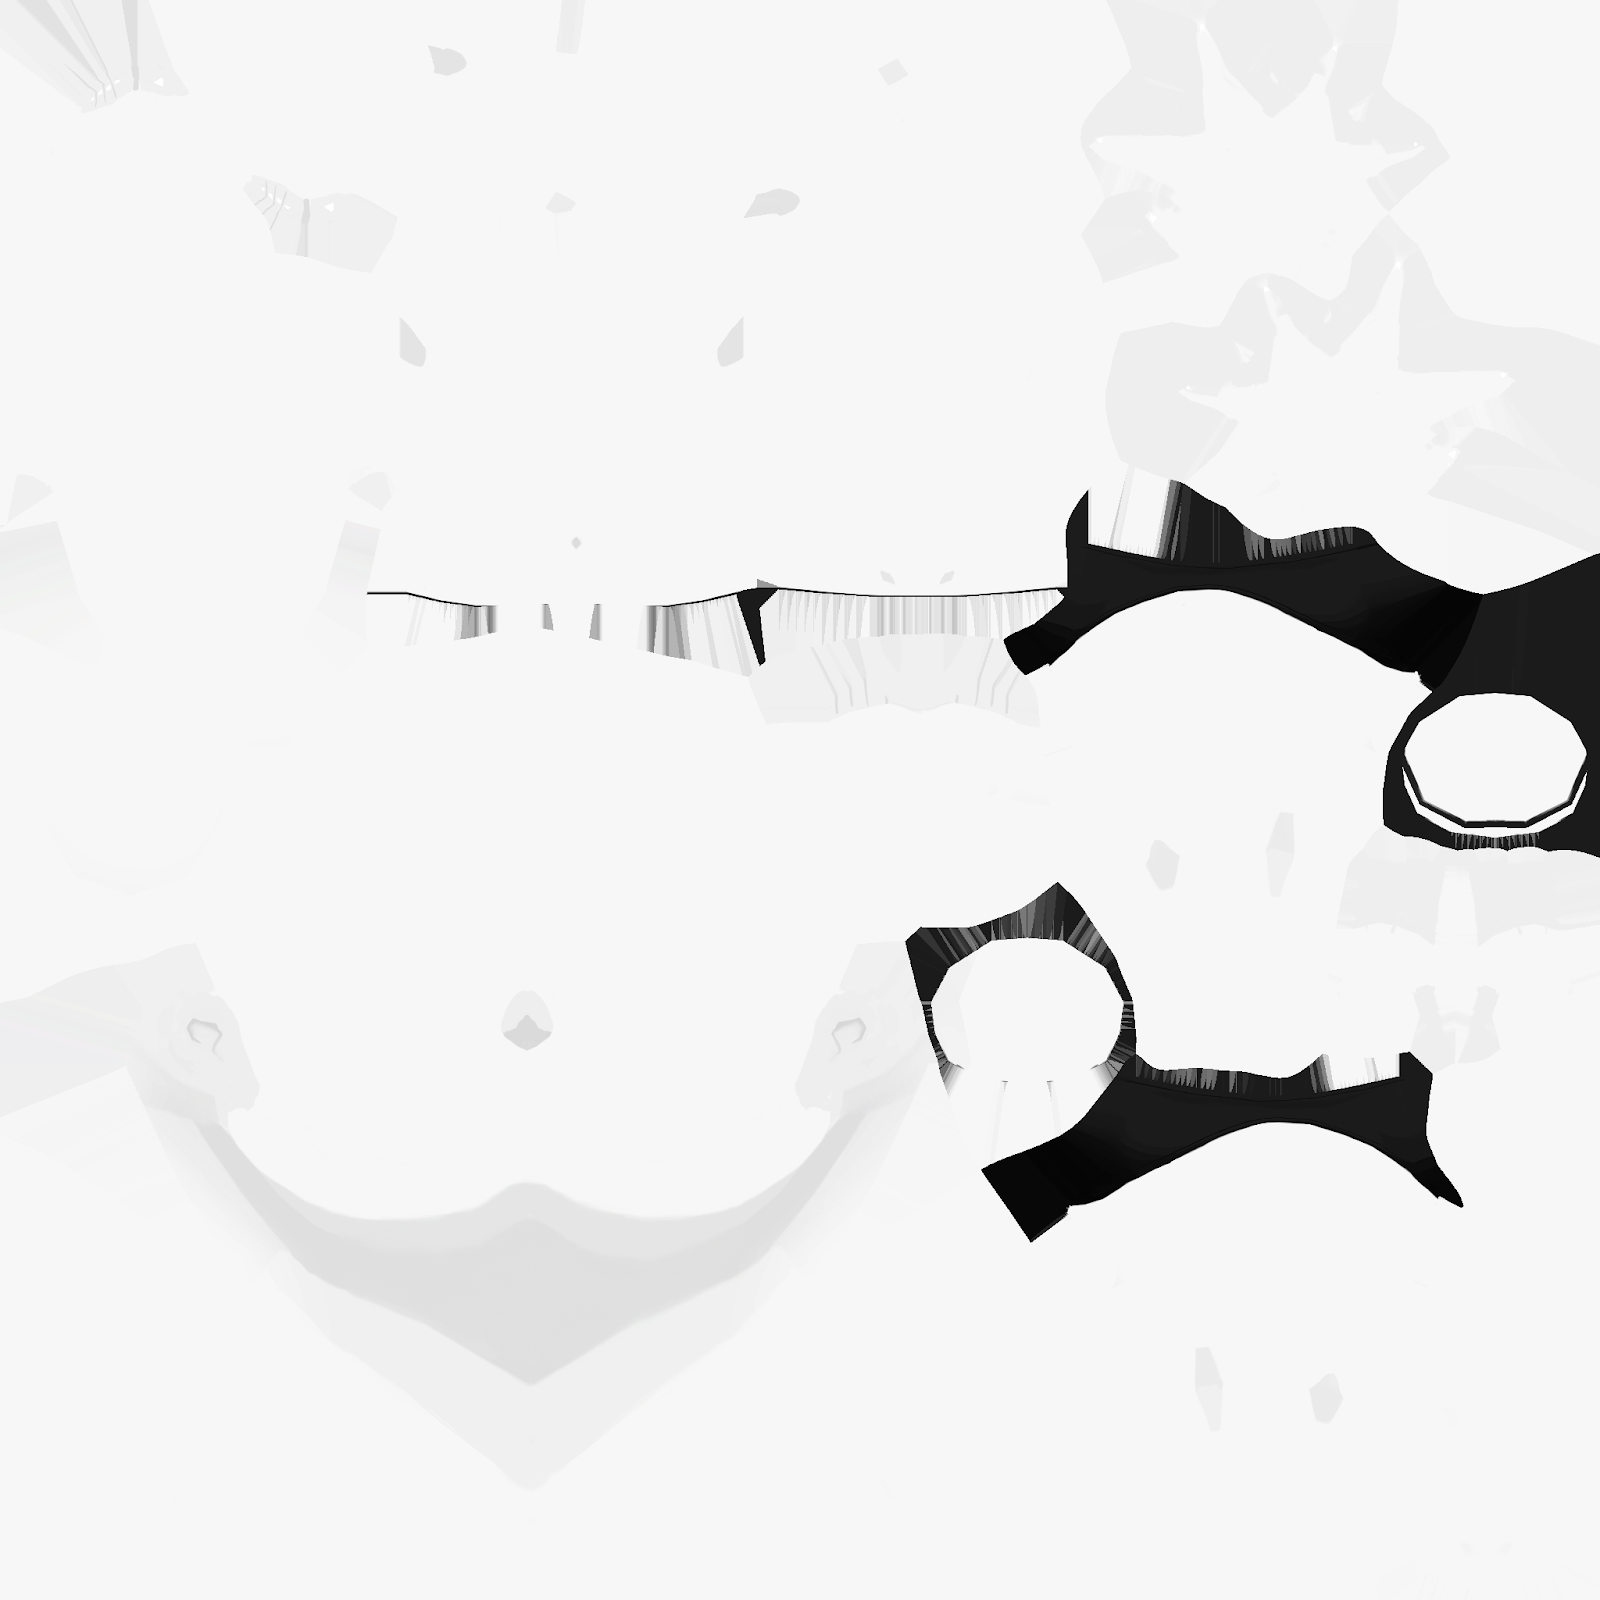 Skin for Avatar Shape B
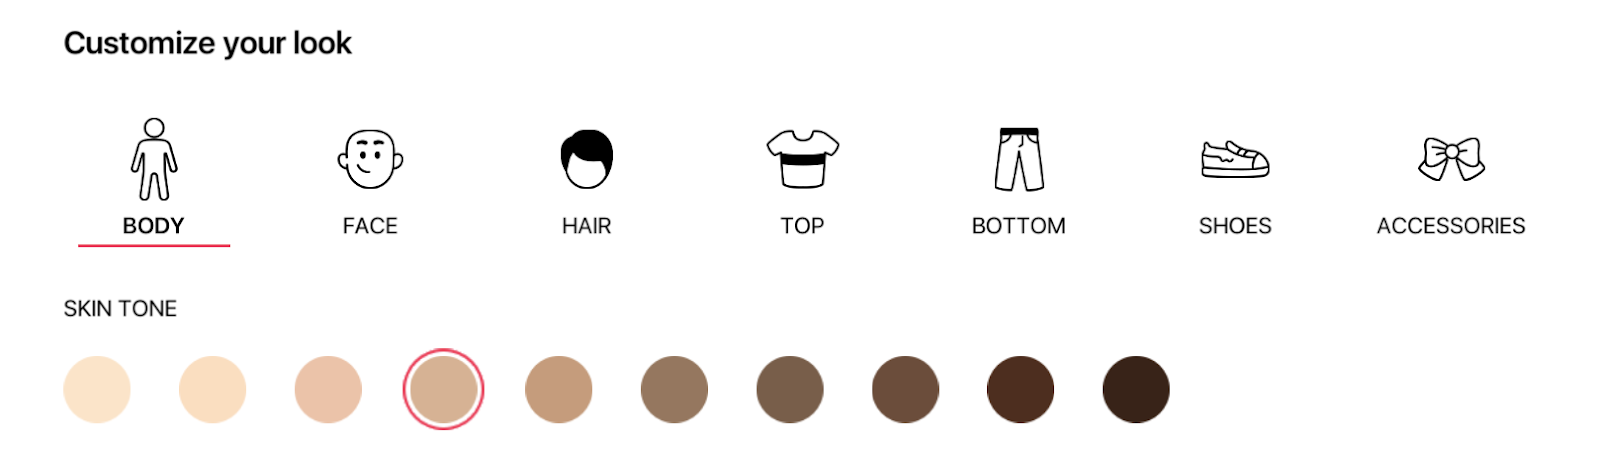
You’ll notice that each skin texture is rendered grayscale in your editor. This allows us to tint the skin later in the avatar editor according to the user’s preference.
Important: always preserve the UV mapping for any body part left exposed by a wearable, like the bottom of the legs left exposed by shorts and skirts. We want to leave any skin material meshes unmodified so that the user’s skin tone is rendered correctly.
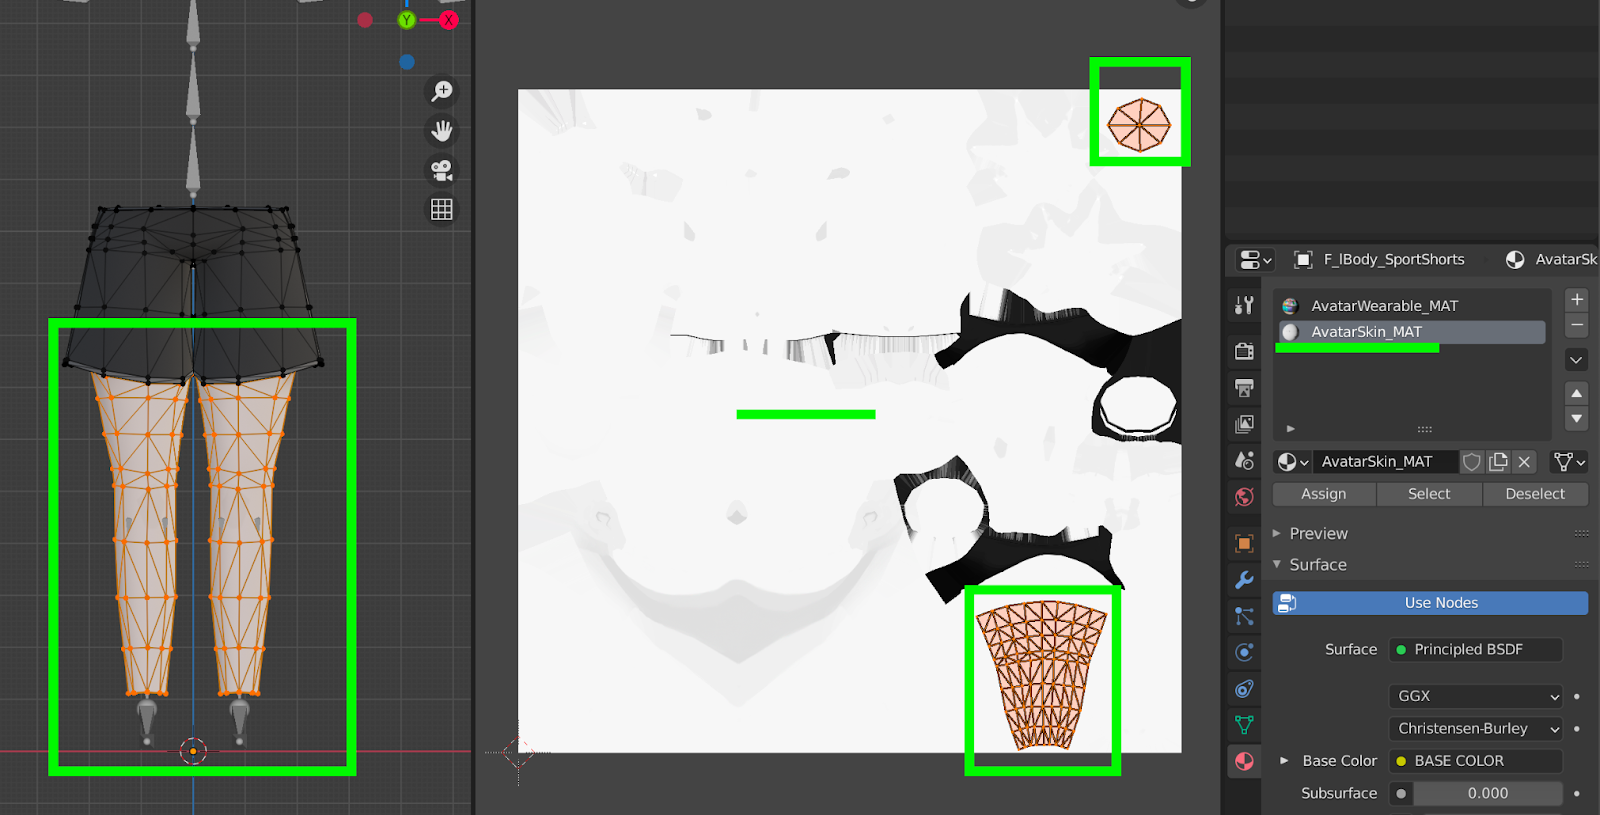
We want to leave the skin mesh alone and use the default AvatarWearable_MAT texture provided in the example files whenever possible to select colors for our wearables. This will guarantee that your wearables are performant. However, you can create custom textures for our wearables! It’s always best to use a single, very small, texture file for each wearable.
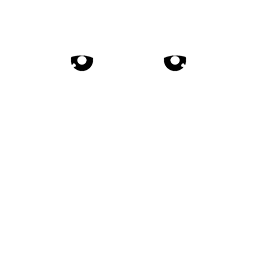
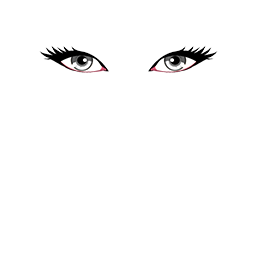
Eyebrows, Eyes and Mouth
These meshes work with a transparent shader so you don’t have to do anything aside from creating your own png texture for the new eyebrow, eye, or mouth style you want and placing it correctly into the UV map. These textures should be 256x256px and need to have, of course, an alpha channel (for transparency).
Here are some example png textures:
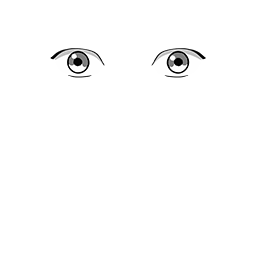 Eyes
Eyes
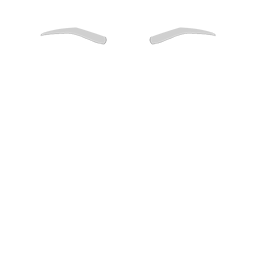 Eyebrows
 Eyebrows
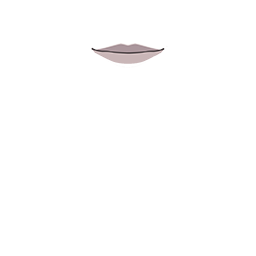 Mouth
Mouth
 Mouth
Mouth
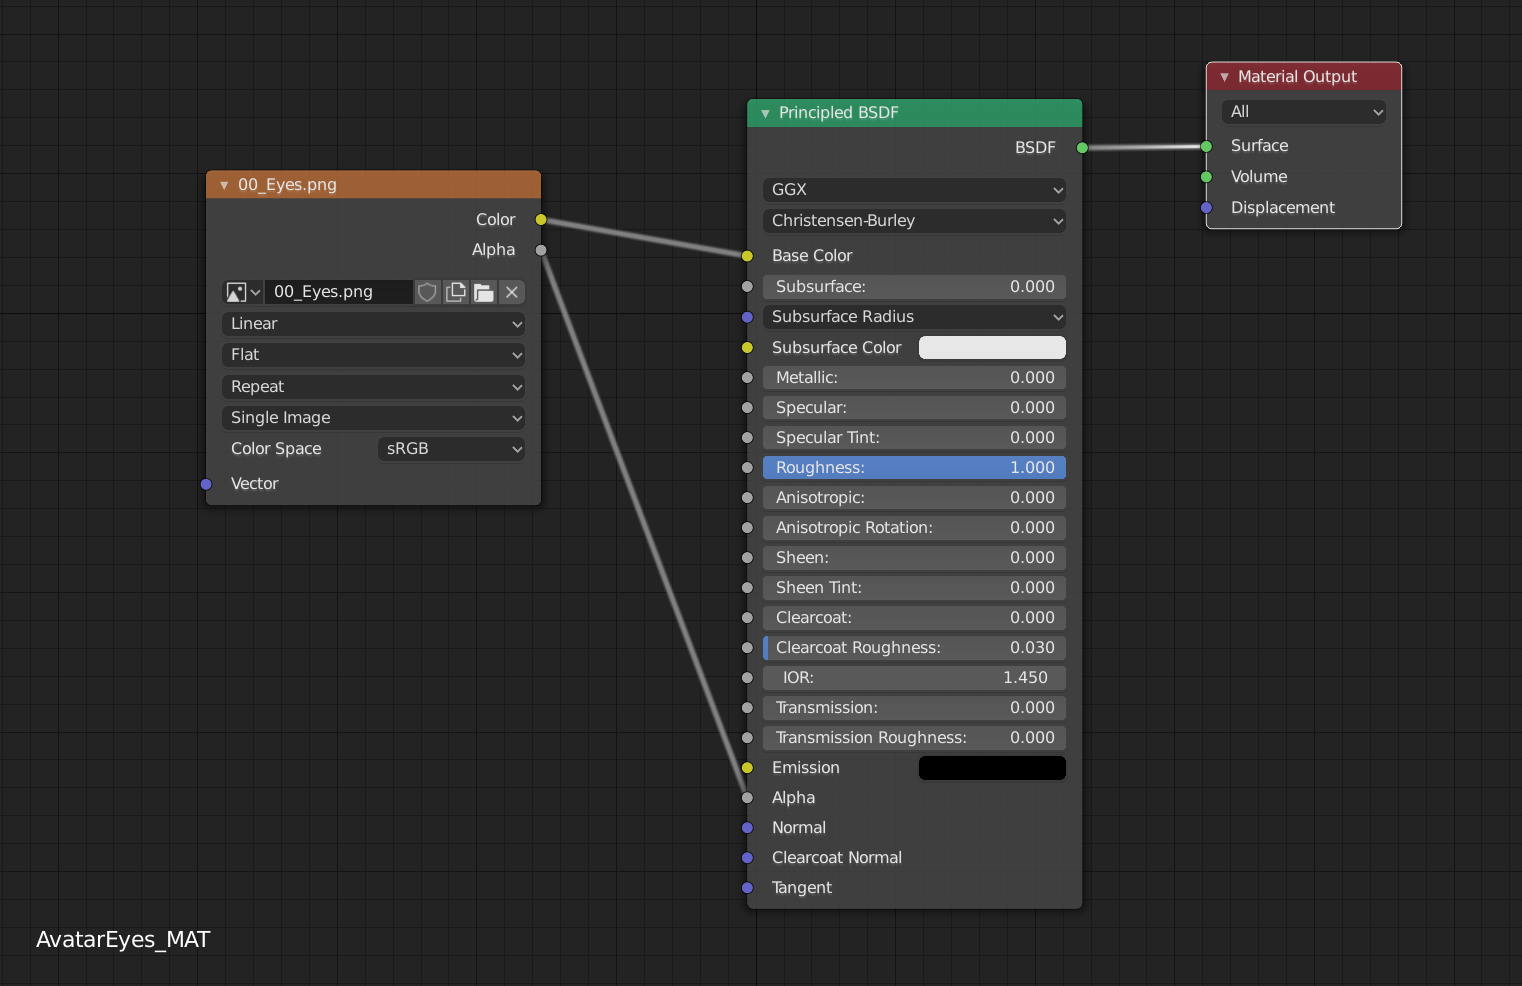
Nodes:
To visualize the final result you’ll need to use these nodes (in Blender):
Masks:
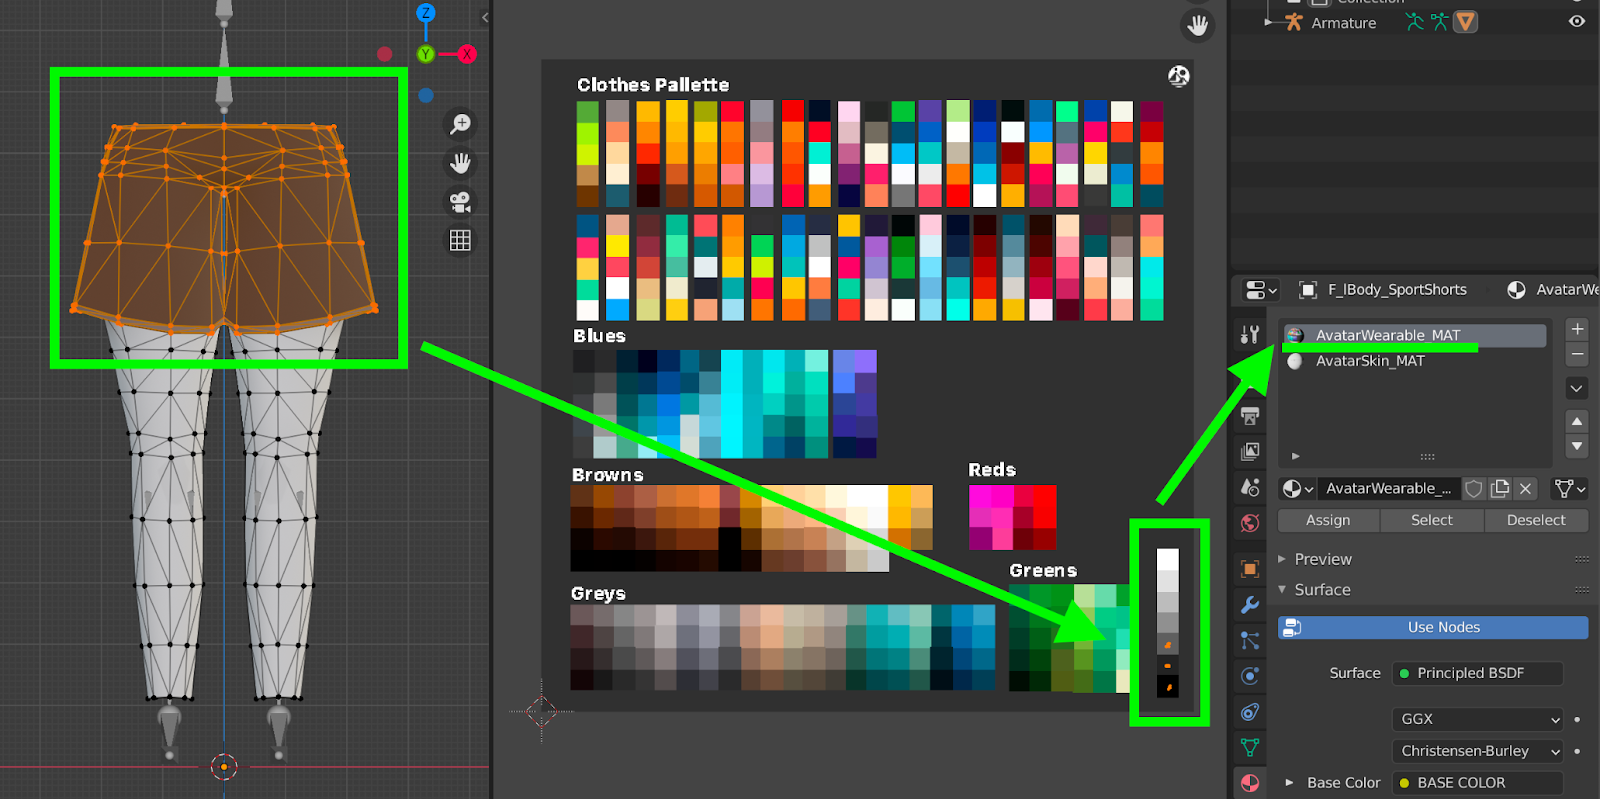
You will notice that the Avatar Editor has different color options users can choose from when selecting different wearables.
These color choices are applied to a specific mask in the wearable.
 Eyes Mask
 Eyes Base
The black area in the image on the left (Eyes Mask) indicates the area of the texture on the right (Eyes Base) that will be colored. It’s important to remember that irises always have a grey band scale (if the iris is pure black, the tint isn’t going to work).
Hair and Facial Hair
There are two important things to remember when creating custom hair wearables.
First, try to follow the shape of the head. You can always refer to the head mesh provided in the example files if you need a place to start.

Second, if you want users to be able to change the color of your custom hair or facial hair using the avatars editor, then you must paint the hair in grayscale. Lower shades of gray will appear darker and higher shades of gray will appear brighter, but always in the color selected by the user in the avatar editor.
Skin Weighting
Skin weighting is the process of determining which bones in the avatar’s rigging affect which wearables during an animation.
When skin weighting our new wearables, there are several considerations we need to keep in mind.
Each asset must be weighted to the full skeleton. For example, an upper body asset will look like this when applying skin weights:
Wearables that meet at intersections between body parts must be fully weighted to the same bone. For example, in these two green zones, the vertices in the neck need to be fully weighted to the “Neck” bone only.
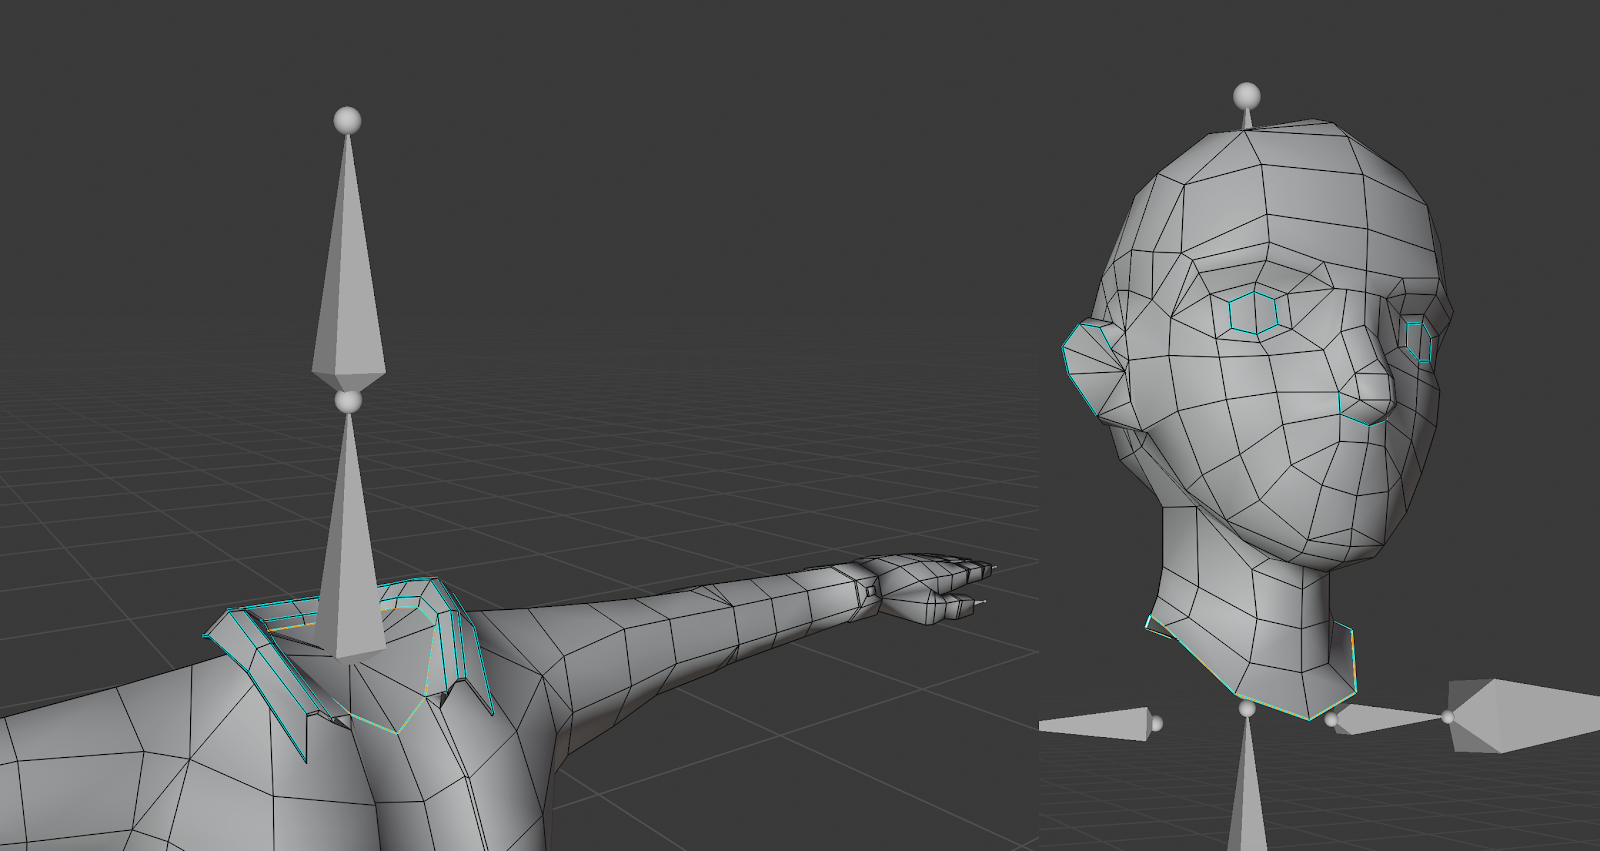
The “key” bones to use when skin weighting are:
Head Bone: for the hair, earrings, tiaras, eyes, eyebrows, mouth and any accessory that needs to follow the head’s movement.
Neck Bone: for the main head and upper body’s intersecting vertices.
Hips Bone: for the upper body and lower body’s intersecting vertices.
Right Leg and Left Leg Bones: for the lower body and feet intersecting vertices.
If you keep these guidelines in mind when skinning your avatar meshes, everything will work as with the native avatars.
Remember, you can use any bone to influence any mesh’s vertices! For example, you could create a new foot mesh for a tall pair of boots, and skin weight the top of the boot to the “Leg Bones”. Or, you could create some long hair and use the “Shoulder” or “Spine” bones to influence the hair when the avatar moves around.
Resources
In this shared folder you can find base models, textures, and various other resources, including examples of fully-created wearables. Feel free to leverage these resources when creating your own.