Builder 101
The Builder is a simple visual editor tool that lets you create and publish Decentraland scenes.
The Builder is an on-line tool. It runs on the browser, you don’t need to install anything, simply visit builder.decentraland.org.
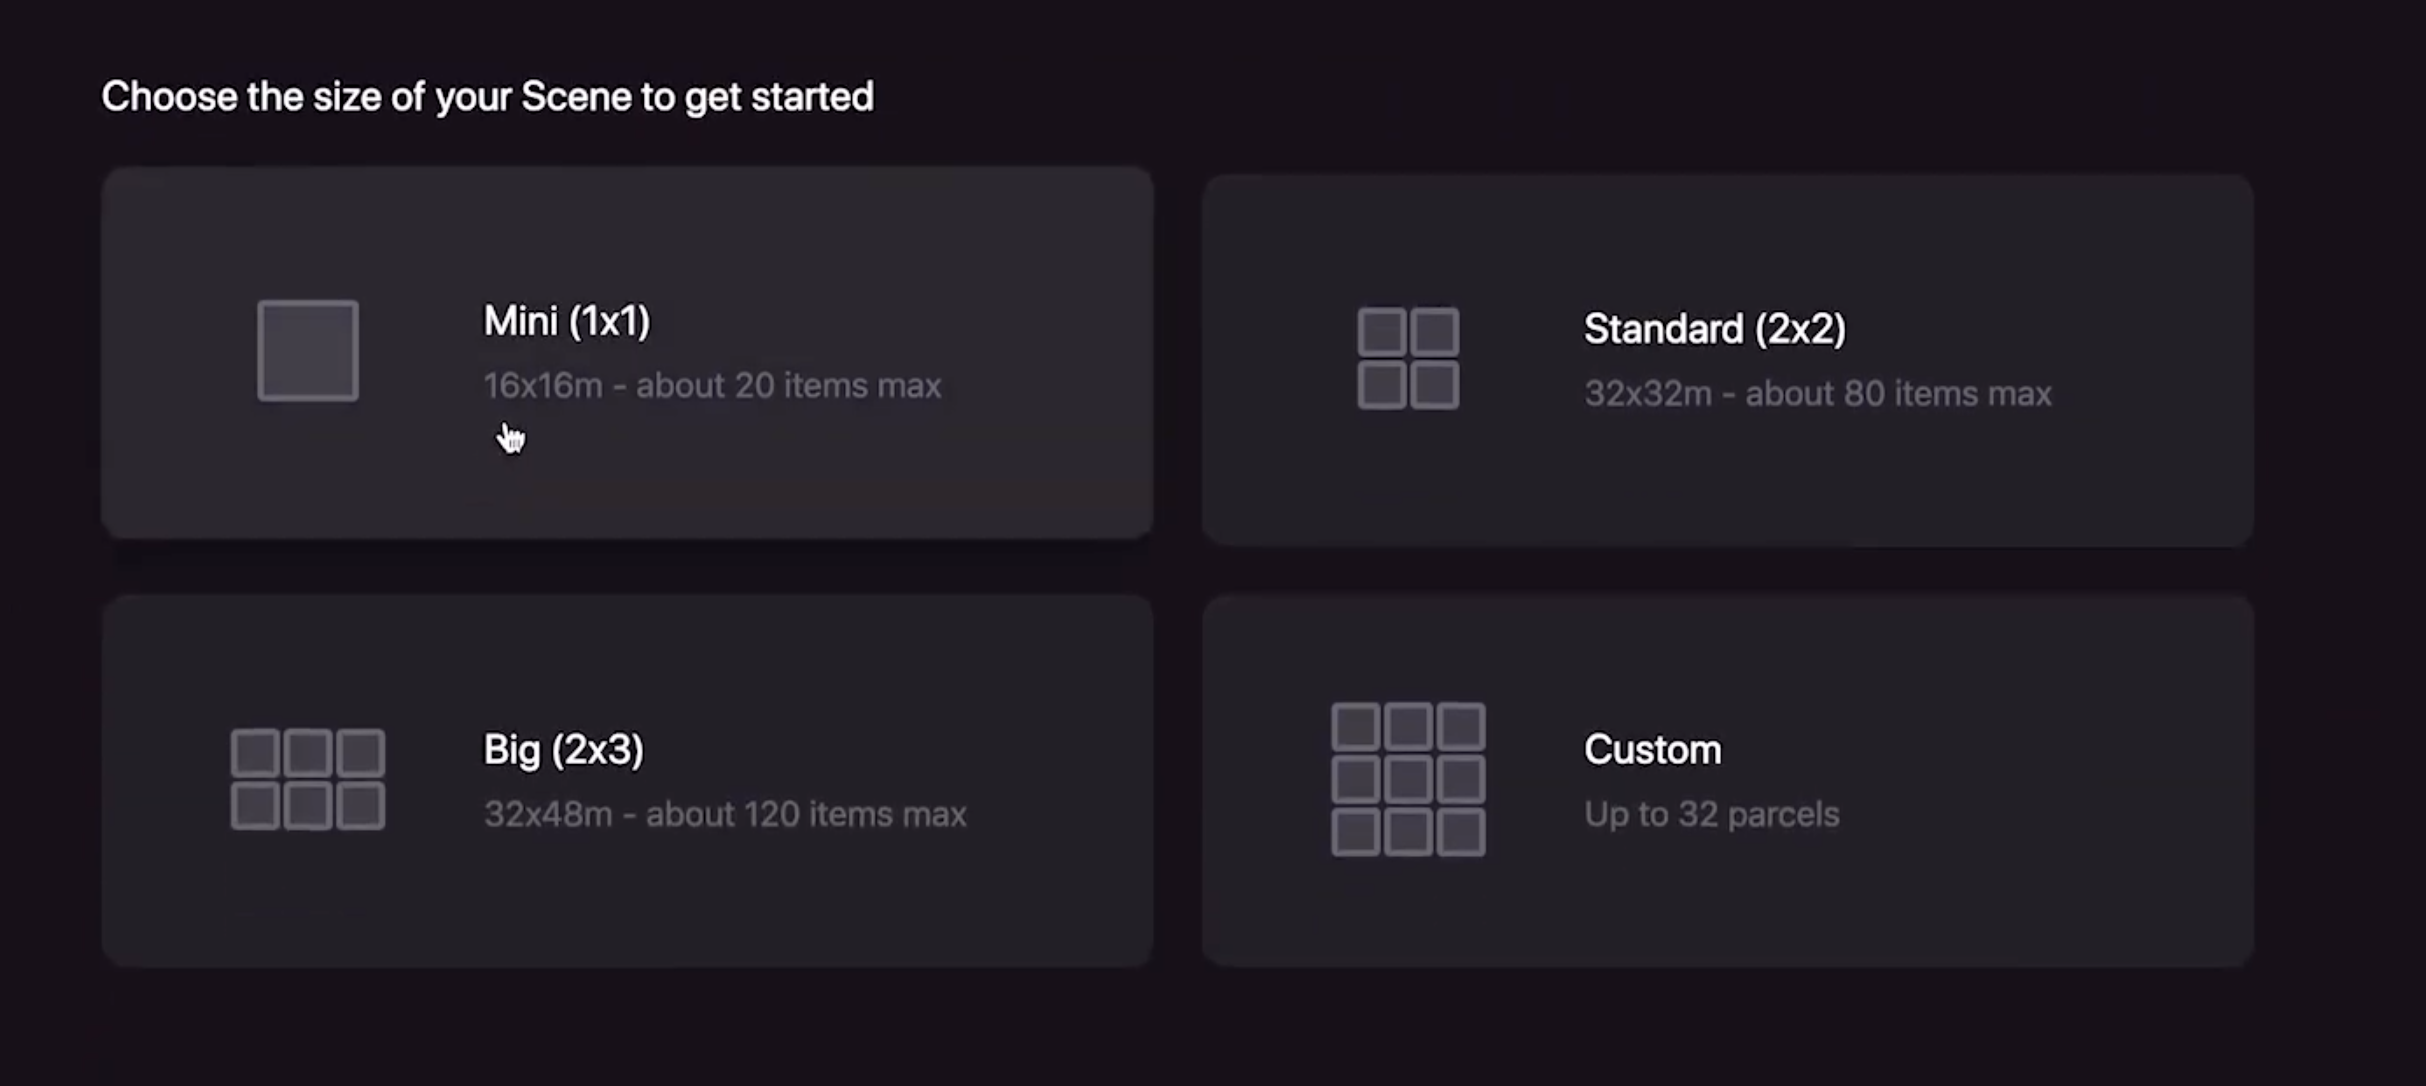
Scene size
Scenes in Decentraland occupy one or several adjacent LAND parcels. Each LAND parcel measures 16x16 meters.
To build something to deploy to LAND parcels you own, make sure the shape of the scene matches the shape of where you want it deployed.
Note: The Builder currently can only create rectangular-shaped scenes. To create an irregularly-shaped scene, you must use the SDK.
You can edit the size of an existing scene by clicking the pencil icon next to the scene name and then changing the number or rows and columns.

Set the ground
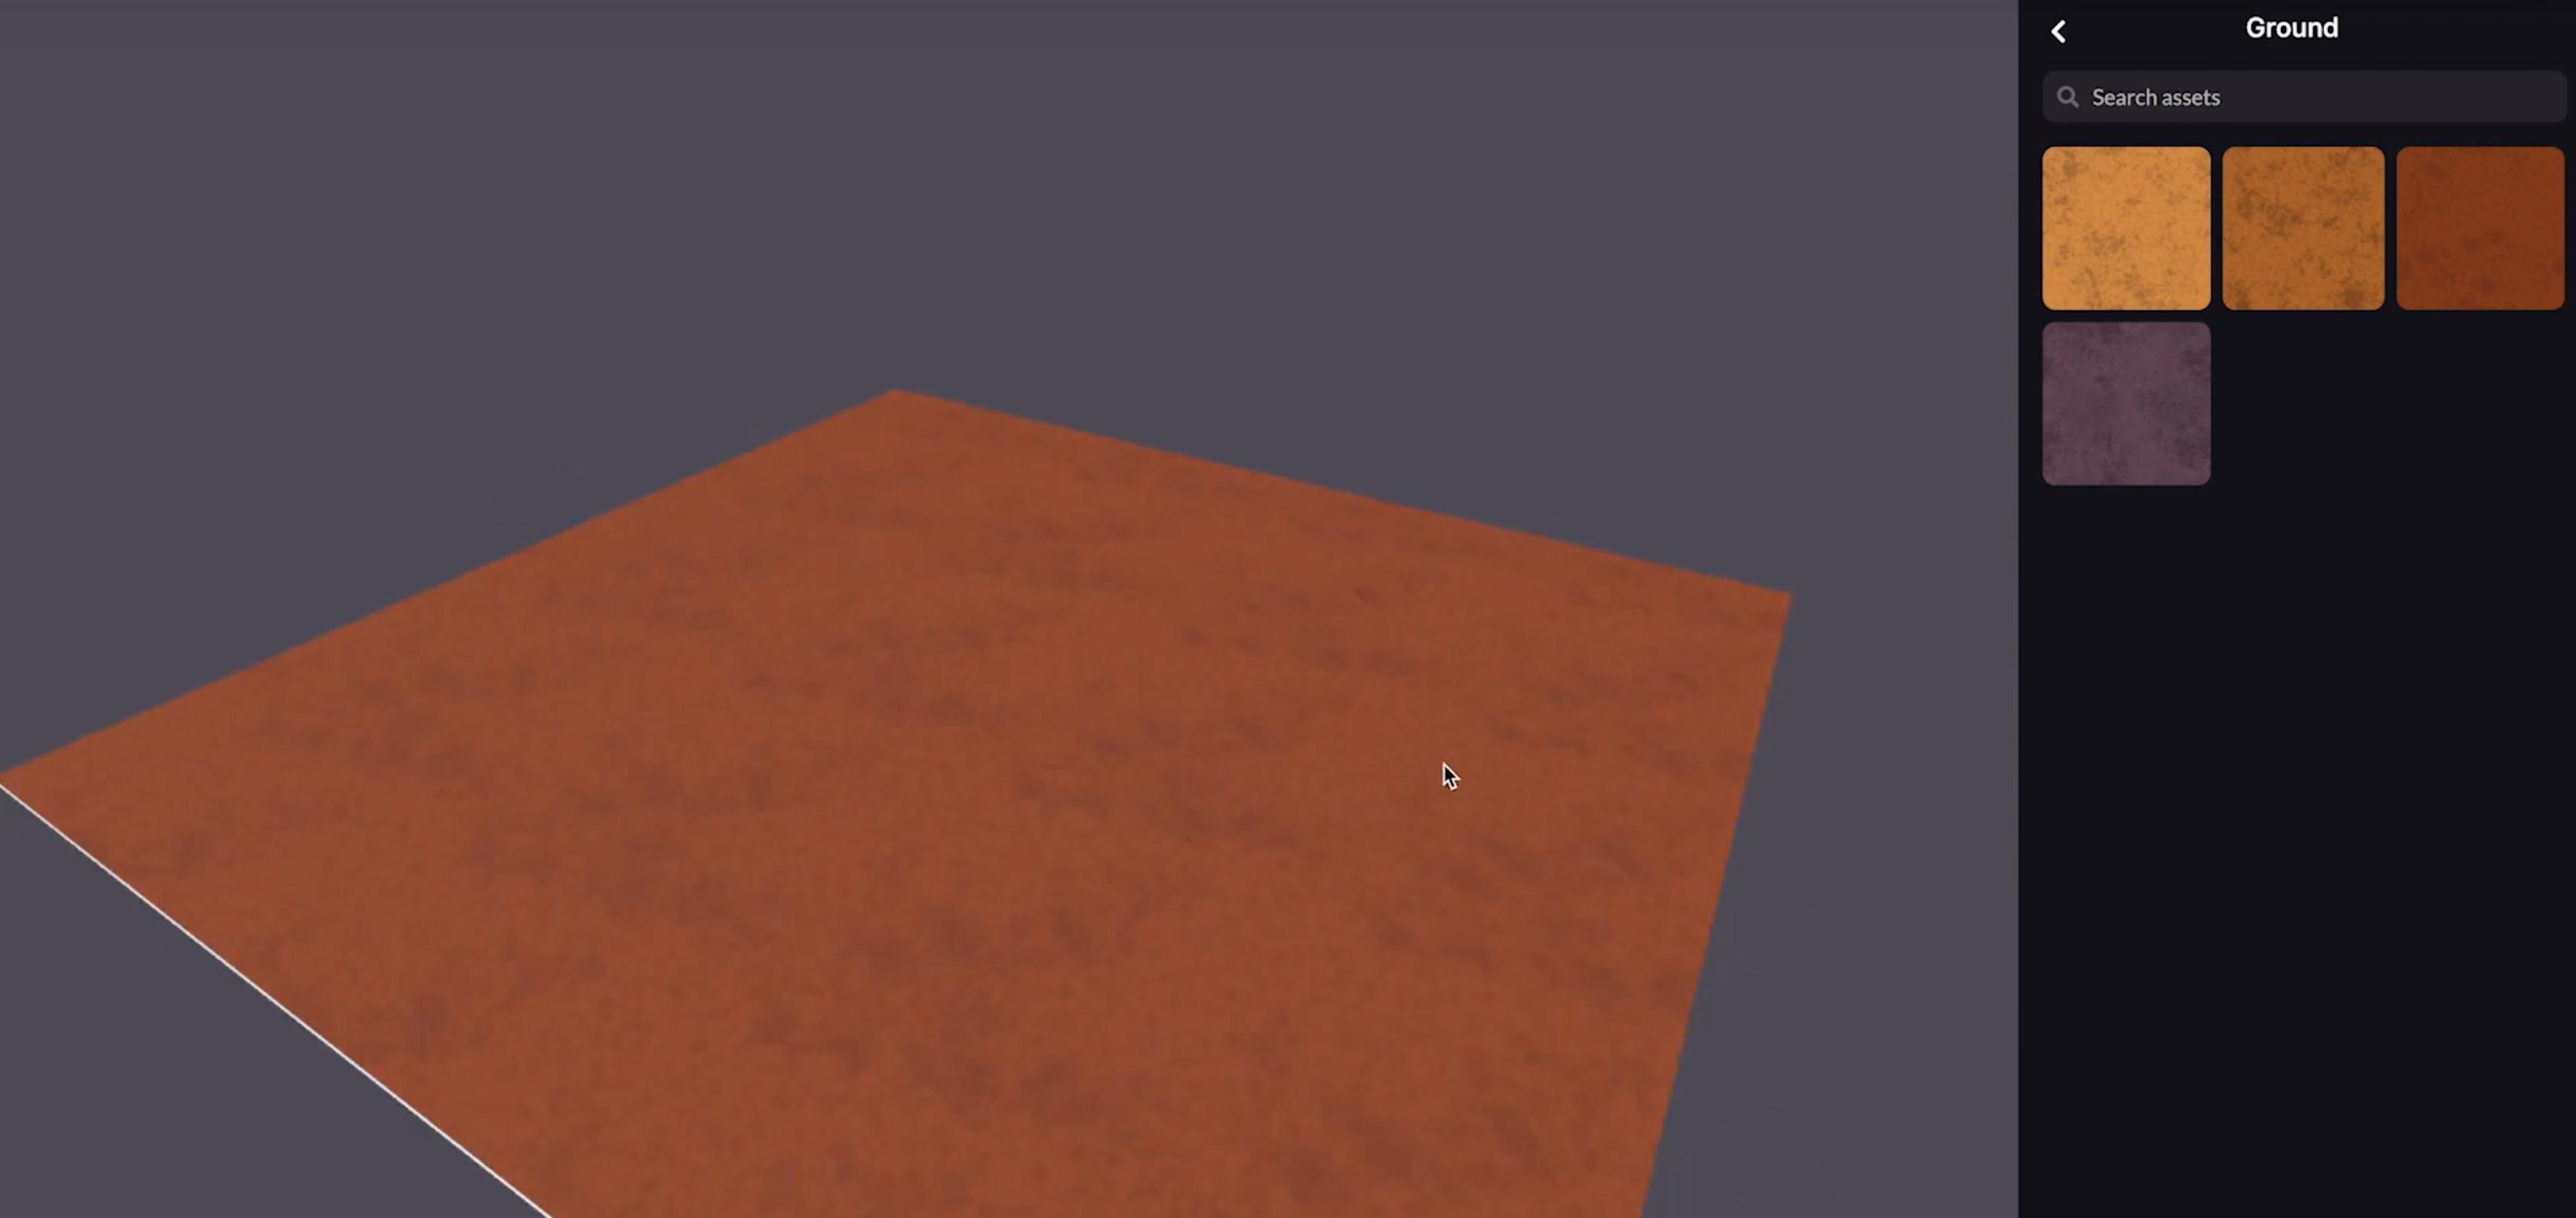
The scene’s ground can use various different textures. You can find these in the different themed asset packs in the item menu.
To apply a ground, just click on the desired ground in the item menu, it will replace all the floor tiles in the scene, regardless of how many parcels are in the scene.

Add items
Navigate the themed asset pack categories on the menu on the right to find different items that you can place on your scene. There’s a great variety!
To place an item:
- Click and drag the item to a specific location in the scene.
- Click on the item in the menu, it will appear in a random location in the scene.
Position items
Click and drag a selected item to move it freely around the scene at ground level.
![]()
To move an item with more precision, use the Move tool, on the top menu. Each arrow lets you move the item in a single axis at a time. With this tool you can also position things above the ground level.
To rotate an item, select the Rotate tool on the top menu. A gizmo appears on the selected item, and you can use each of the hoops to rotate the item on one axis at a time.
To make an item larger or smaller, select the scale item on the top menu, then click on the center of the gizmo and drag in or out. This tool also lets you stretch an item in a single axis to change its proportions, to do this click on one of the axis of the gizmo and drag it.
Tip: To have greater precision while moving, rotating or scaling an item, press and hold the Shift key while making adjustments.
To delete an item from the scene, select it and click the Delete tool.
To duplicate an item, select it and click the Duplicate tool. The new item will be perfectly overlapping the original.
To select multiple items at the same time, press and hold the Control key while selecting them. You can then move, rotate, scale, duplicate or delete all of them in a single action.
Scene boundaries and limitations
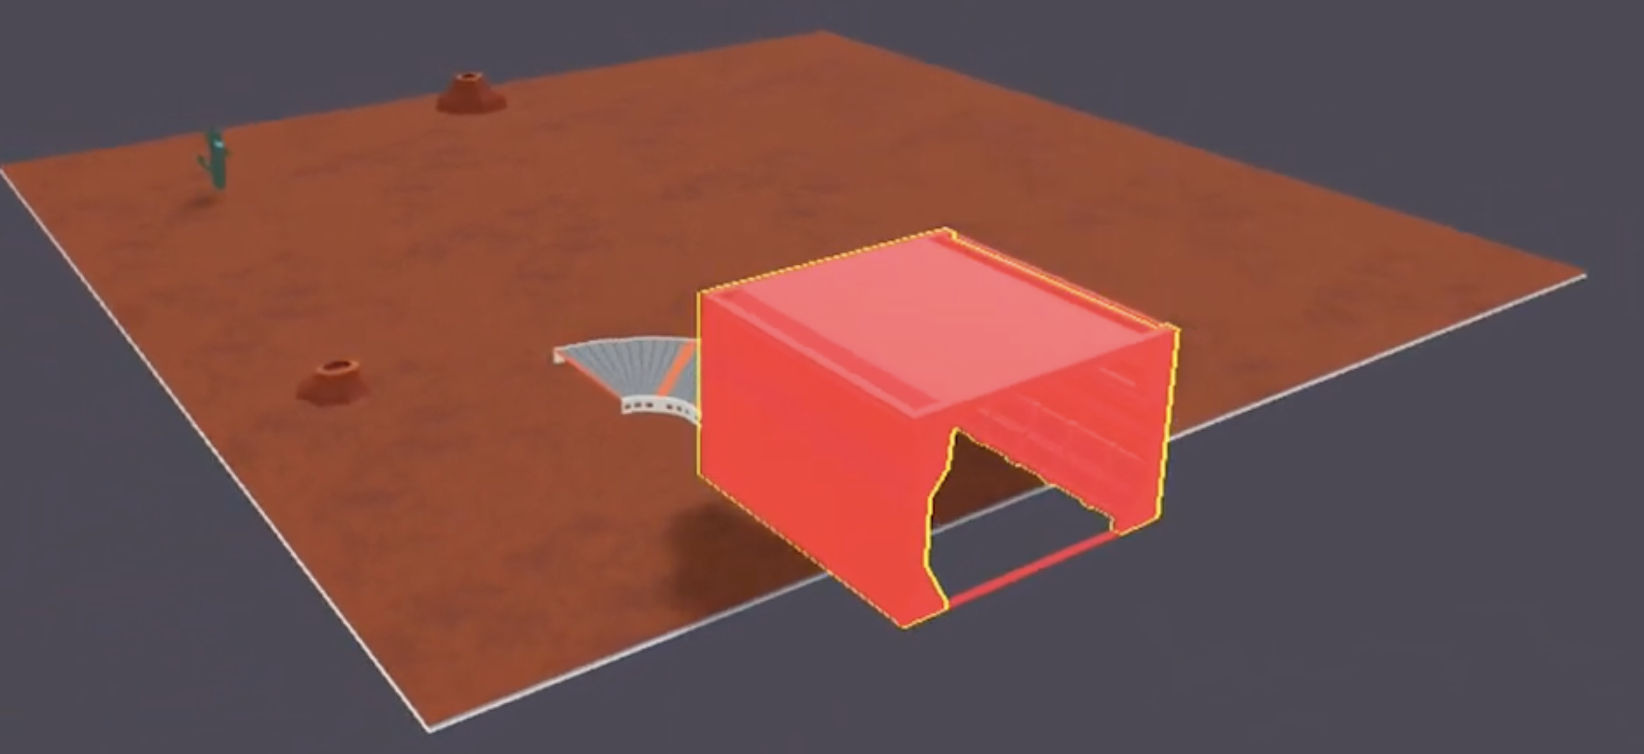
All items need to stay inside the parcels that make up the scenes. If something extends out of the LAND parcels, that would be overlapping with a neighboring scene, which isn’t allowed.
If an item extends outside the parcels, it will be marked in red. The Builder won’t allow you to publish the scene until this is fixed.

Note that 3d models have bounding boxes that surround them. Sometimes, even though the actual visible shape of the model is all inside the scene, the corners of this box extend out of bounds. This scenario is also considered out of bounds and must be fixed.
If you imported a custom 3D model that has bounding boxes that extend far beyond the model itself, it’s a good practice to edit the model to make sure the bounding boxes extend out as little as possible. See Meshes.
To keep scenes in Decentraland lightweight, you are limited to a maximum amount of textures, triangles, etc. See scene limitations.
Preview
To test your scene and experience it like a player, click the eye icon on the top-right corner. This will open a scene preview, where you can move around the scene and interact with interactive items.

To exit the preview and return to editing the scene, press the ‘Esc’ key to free the cursor, then click the X icon on the top-right.
Name the scene
Click the pencil icon next to the scene name to provide a name and an optional description for the scene.
This name is visible to players exploring your scene, it appears right beneath the minimap. Make sure the scene has a name that makes sene and gives players useful context.
Publish your scene
Once you’re happy with the scene, press Publish.
-
Select Scene pool to make your scene available for land owners that might want to publish it in their land.
-
Select My Land if you own land, or have been given deploy permissions by an owner. Then select the parcels where you want it deployed in the map. Parcels where you are allowed to deploy are shown in pink.
Tip: Use the rotate arrows on the top-left to rotate your scene so that its shape fits the available parcels, or to ensure its front faces the right way.
Once your scene has been published, you can keep making changes to it and then press Update to publish these changes.